적외선 센서, 키패드 제어, 7-세그먼트, 적외선 온도센서
2024. 7. 3. 14:25ㆍJetson
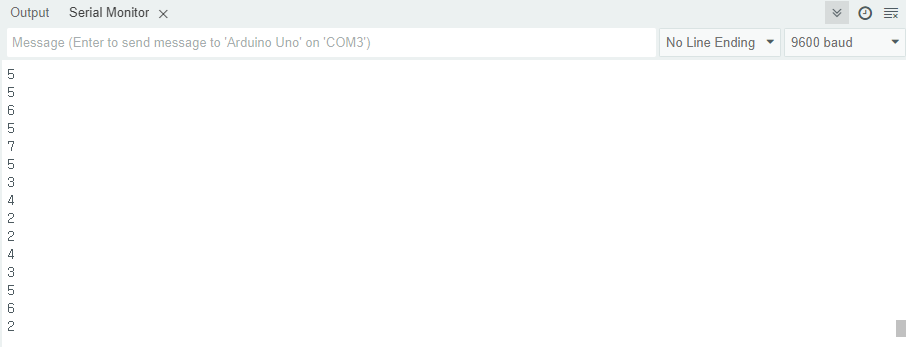
✅ 적외선 센서

✅ 인체 감지 시 LED ON

void setup() {
pinMode(8, INPUT);
Serial.begin(9600);
}
void loop() {
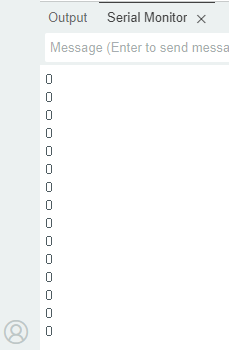
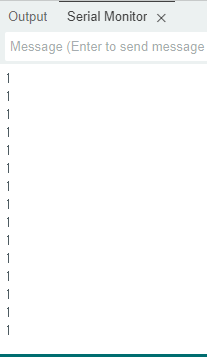
int val = digitalRead(8);
Serial.println(val);
}
// 적외선 센서 근처에 가면 선풍기가 돌게, 아니면 안돌게 만들어 보기!

void setup() {
  pinMode(8, INPUT);
  pinMode(9, OUTPUT); // 액츄에이터

  Serial.begin(9600);
}

void loop() {
  int val = digitalRead(8);

  Serial.println(val);

  if (val == 1) {
    // digitalWrite(9, 1); // 최대 세기로 켰다 껐다만 하겠다!
    analogWrite(9, 125); // 속도를 조금 줄여서 작동 시키겠다!
  } else {
    digitalWrite(9, 0);
  }
}
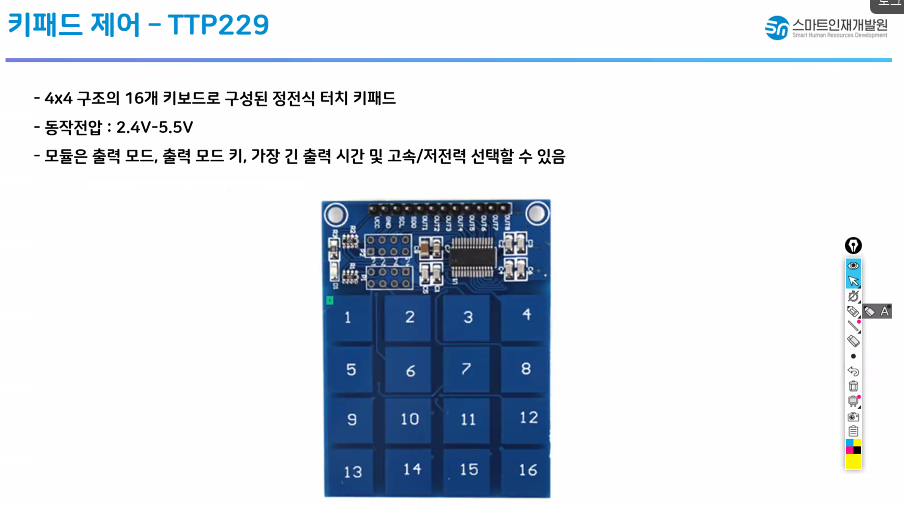
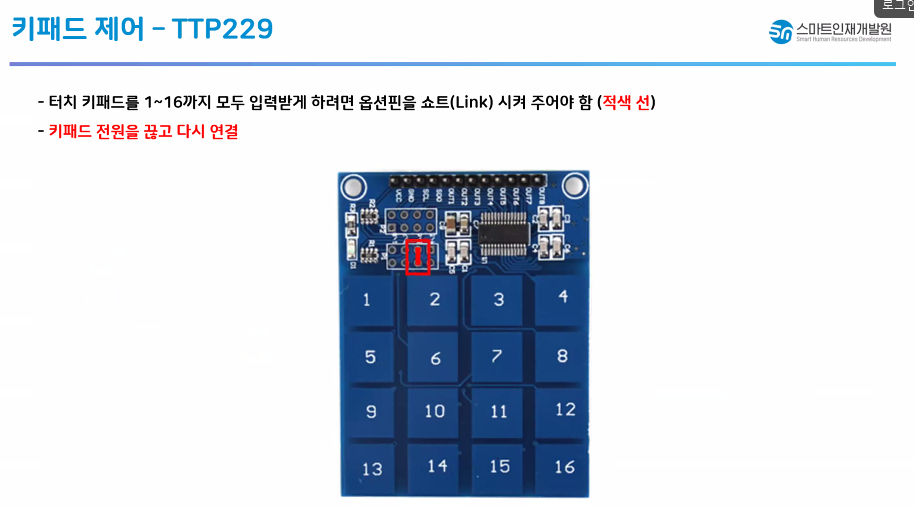
✅ 키패드 제어 - TTP229
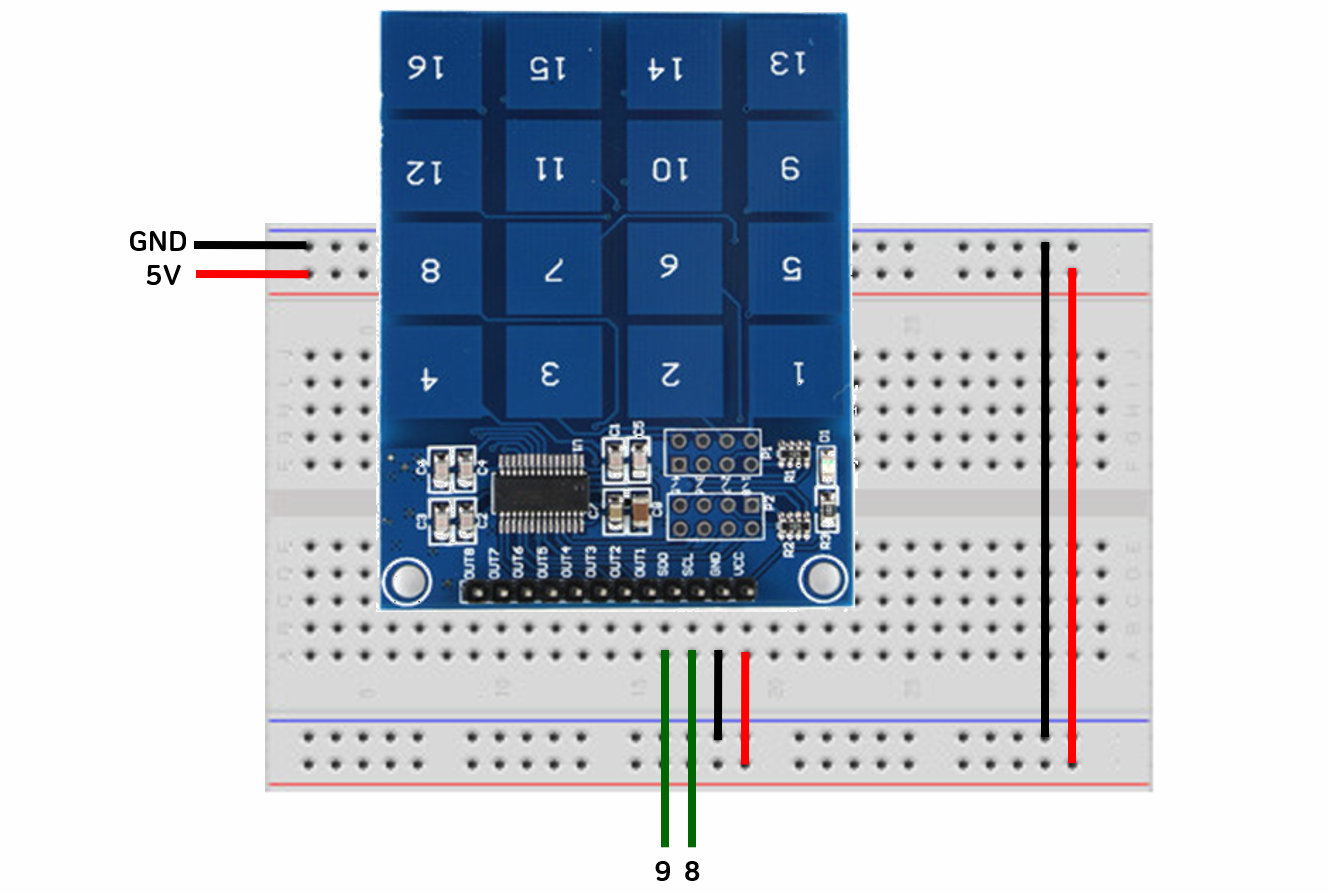
#define SCL_PIN 8
#define SDO_PIN 9
void setup() {
Serial.begin(9600);
pinMode(SCL_PIN, OUTPUT); // 출력 모드
pinMode(SDO_PIN, INPUT); // 입력 모드
}
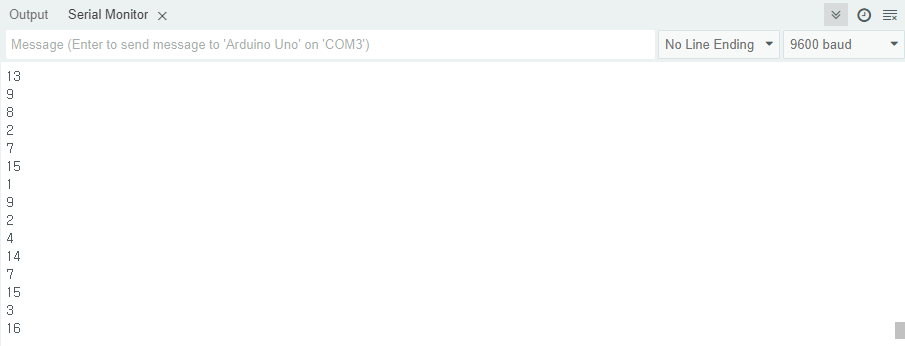
void loop() {
byte Key = Read_Keypad(); // 키패드 상태를 읽어서 Key 변수에 저장
if (Key) {
Serial.println(Key);
}
}
byte Read_Keypad(void) {
byte Key_state = 0; // 키 상태를 저장할 변수
for (byte Count = 1; Count <= 8; Count++) {
digitalWrite(SCL_PIN, LOW); // SCL_PIN 핀을 LOW 상태로 설정해서 현재 열을 활성화
if (digitalRead(SDO_PIN) == LOW) { // SDO_PIN 상태를 읽어서 LOW(활성화)이면
Key_state = Count; // Key_state에 현재 Count 값 저장
digitalWrite(SCL_PIN, HIGH); // SCL_PIN을 HIGH 상태로 설정해서 비활성화 시킨다!
}
}
return Key_state; // 키 상태 반환
}
#define SCL_PIN 8
#define SDO_PIN 9

void setup() {
  Serial.begin(9600);

  pinMode(SCL_PIN, OUTPUT); // 출력 모드
  pinMode(SDO_PIN, INPUT); // 입력 모드
}

void loop() {
  byte Key = Read_Keypad(); // 키패드 상태를 읽어서 Key 변수에 저장

  if (Key) {
    Serial.println(Key);
  }
}

byte Read_Keypad(void) {
  byte Key_state = 0; // 키 상태를 저장할 변수
  for (byte Count = 1; Count <= 16; Count++) {
    digitalWrite(SCL_PIN, LOW);                // SCL_PIN 핀을 LOW 상태로 설정해서 현재 열을 활성화

    if (digitalRead(SDO_PIN) == LOW) {         // SDO_PIN 상태를 읽어서 LOW(활성화)이면
    Key_state = Count;                         // Key_state에 현재 Count 값 저장

    digitalWrite(SCL_PIN, HIGH);               // SCL_PIN을 HIGH 상태로 설정해서 비활성화 시킨다!
    }
  }
  return Key_state; // 키 상태 반환
}
#define SCL_PIN 8 // SCL_PIN을 마이크로컨트롤러의 8번 핀으로 정의합니다.
#define SDO_PIN 9 // SDO_PIN을 마이크로컨트롤러의 9번 핀으로 정의합니다.
const byte pw[4] = { 1, 2, 3, 4 }; // 정해진 비밀번호를 저장하는 배열
byte Key[4]; // 입력된 비밀번호를 저장할 배열
int co = 0, ok_co = 0; // 입력된 키의 개수와 비밀번호가 맞는지 확인하기 위한 변수
void setup() {
Serial.begin(9600); // 시리얼 통신을 9600 보드로 시작합니다.
pinMode(SCL_PIN, OUTPUT); // SCL_PIN을 출력 모드로 설정합니다.
pinMode(SDO_PIN, INPUT); // SDO_PIN을 입력 모드로 설정합니다.
}
void loop() {
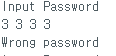
Serial.println("Input Password"); // "Input Password"를 시리얼 모니터에 출력합니다.
while (co < 4) { // co가 4보다 작을 동안 반복합니다.
byte temp = Read_Keypad(); // 키패드의 상태를 읽어 temp에 저장합니다.
if (temp) { // temp가 0이 아니면 (즉, 키가 눌렸으면)
Key[co] = temp; // 입력된 키를 Key 배열에 저장합니다.
Serial.print(temp); // 입력된 키를 시리얼 모니터에 출력합니다.
Serial.print(" ");
co++; // 입력된 키의 개수를 증가시킵니다.
}
delay(500); // 0.5초 지연합니다.
}
Serial.println(""); // 새로운 줄을 시리얼 모니터에 출력합니다.
for (int i = 0; i < 4; i++) { // 입력된 비밀번호를 확인합니다.
if (Key[i] == pw[i]) { // 입력된 비밀번호와 저장된 비밀번호가 일치하면
ok_co++; // 일치하는 개수를 증가시킵니다.
}
}
if (ok_co == 4) { // 비밀번호가 모두 일치하면
Serial.println("Open !!"); // "Open !!"을 시리얼 모니터에 출력합니다.
} else {
Serial.println("Wrong password"); // 일치하지 않으면 "Wrong password"를 시리얼 모니터에 출력합니다.
}
co = 0; // 입력된 키의 개수를 초기화합니다.
ok_co = 0; // 일치하는 개수를 초기화합니다.
}
byte Read_Keypad(void) {
byte Count;
byte Key_State = 0; // 키 상태를 저장할 변수
for (Count = 1; Count <= 8; Count++) { // 키패드의 16개 키를 확인합니다.
digitalWrite(SCL_PIN, LOW); // SCL_PIN을 LOW 상태로 설정하여 현재 열을 활성화합니다.
if (!digitalRead(SDO_PIN)) // SDO_PIN의 상태를 읽어 LOW이면 (즉, 키가 눌렸으면)
Key_State = Count; // Key_State에 현재 Count 값을 저장합니다.
digitalWrite(SCL_PIN, HIGH); // SCL_PIN을 HIGH 상태로 설정하여 현재 열을 비활성화합니다.
}
return Key_State; // 키 상태를 반환합니다.
}
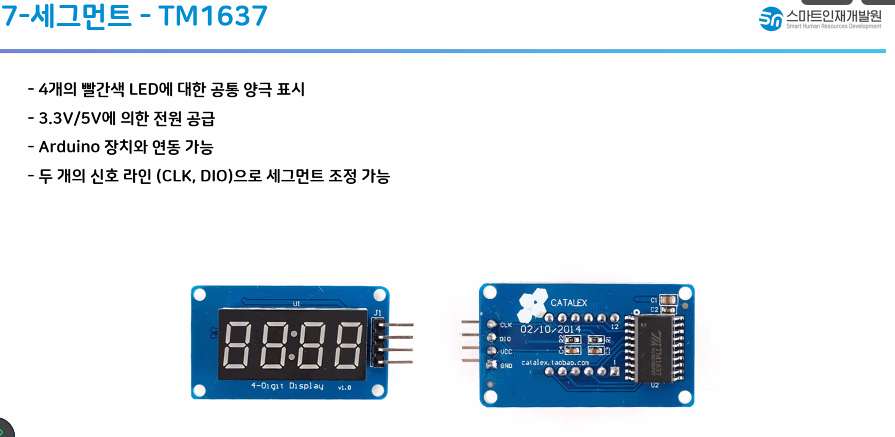
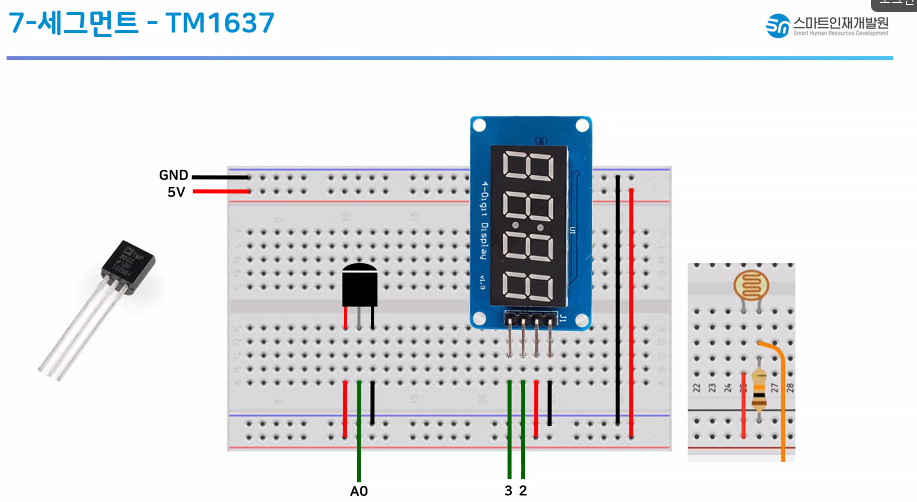
✅ 7-세그먼트 - TM1637
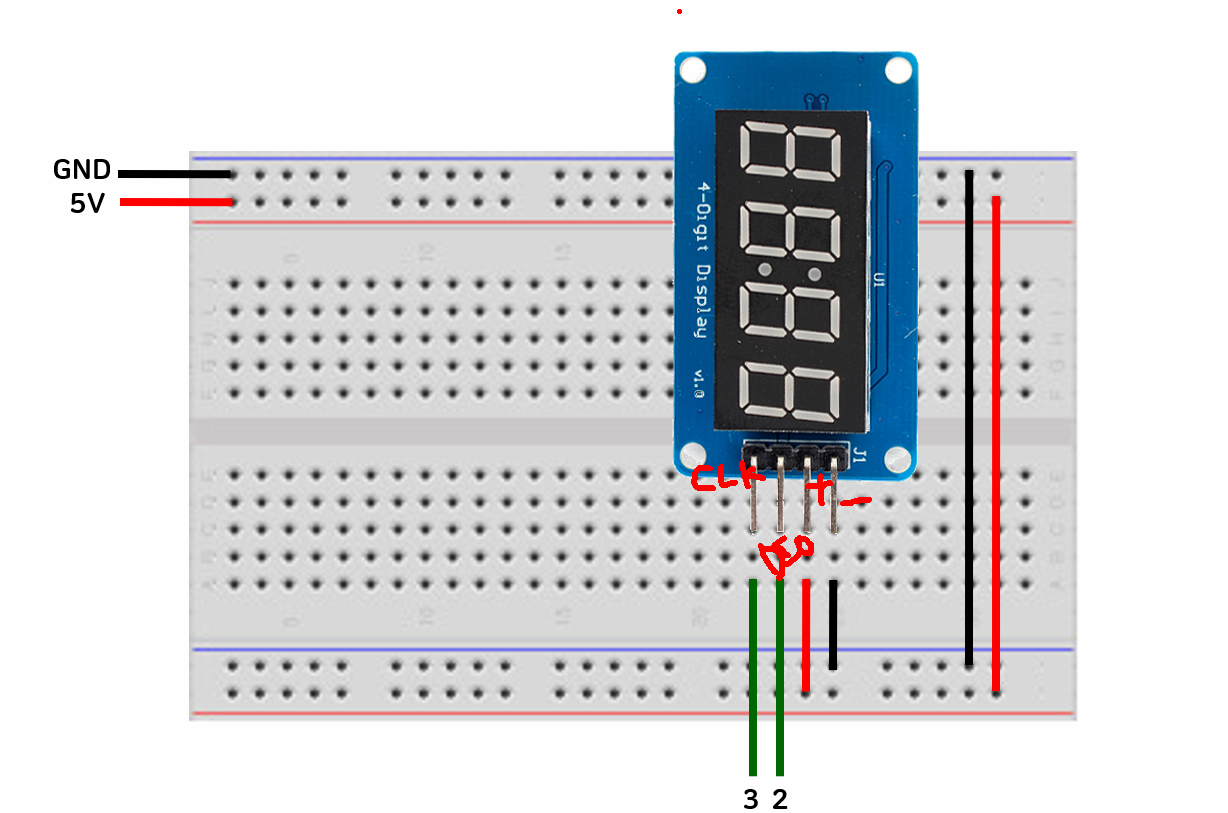
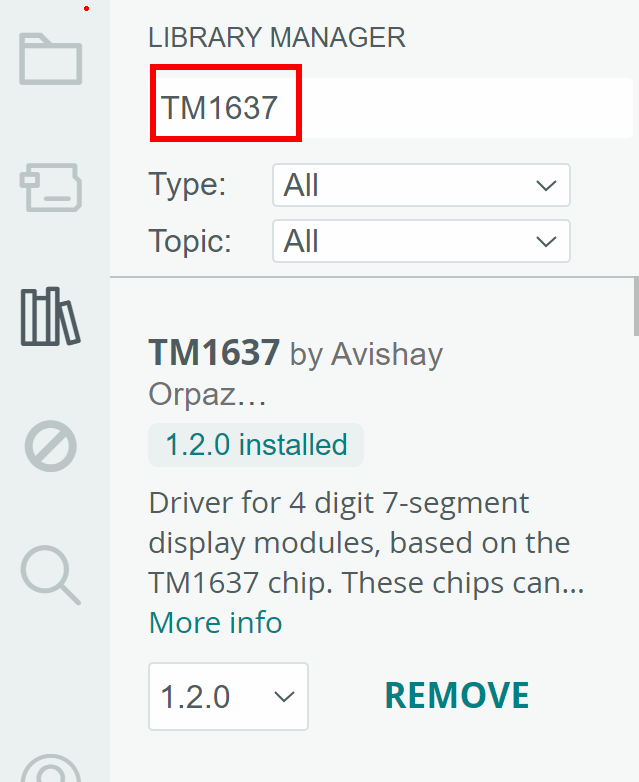
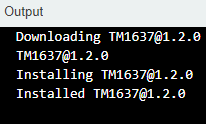
#include <TM1637Display.h> // 라이브러리 불러오기

#define CLK 3 // 상수
#define DIO 2

TM1637Display display(CLK, DIO); // display화

void setup() {
  display.setBrightness(0x0f); // 세그먼트 디스플레이 밝기 설정 -> 최대 밝기(0x0f)
}

void loop() {
  int number = 1234; // 12:34

  display.showNumberDecEx(number, 0x40, true, 4, 0);

  delay(1000);
}
#include <TM1637Display.h> // 라이브러리 불러오기

#define CLK 3 // 상수
#define DIO 2

TM1637Display display(CLK, DIO); // display화

void setup() {
  display.setBrightness(0x0f); // 세그먼트 디스플레이 밝기 설정 -> 최대 밝기(0x0f)
}

void loop() {
  int sensorValue = analogRead(A0);

  float voltage = sensorValue / 1024.0 * 5.0;
  int temp = (voltage - 0.5) * 100;

  display.showNumberDec(temp);

  // display.showNumberDec(sensorValue);

  // int number = 1234; // 12:34

  // display.showNumberDecEx(number, 0x40, true, 4, 0);

  // delay(1000);
}
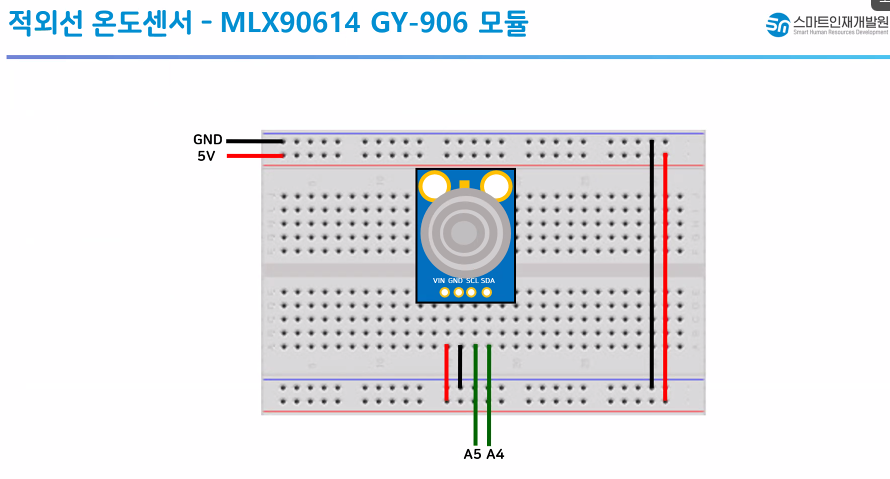
✅ 적외선 온도센서 - MLX90614 GY-906 모듈
/***************************************************
This is a library example for the MLX90614 Temp Sensor
Designed specifically to work with the MLX90614 sensors in the
adafruit shop
----> https://www.adafruit.com/products/1747 3V version
----> https://www.adafruit.com/products/1748 5V version
These sensors use I2C to communicate, 2 pins are required to
interface
Adafruit invests time and resources providing this open source code,
please support Adafruit and open-source hardware by purchasing
products from Adafruit!
Written by Limor Fried/Ladyada for Adafruit Industries.
BSD license, all text above must be included in any redistribution
****************************************************/
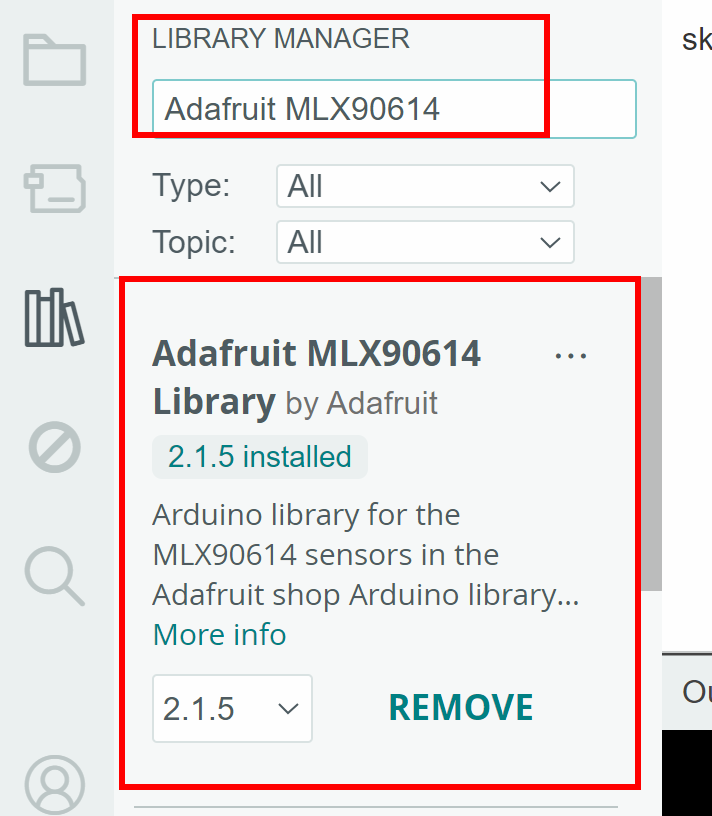
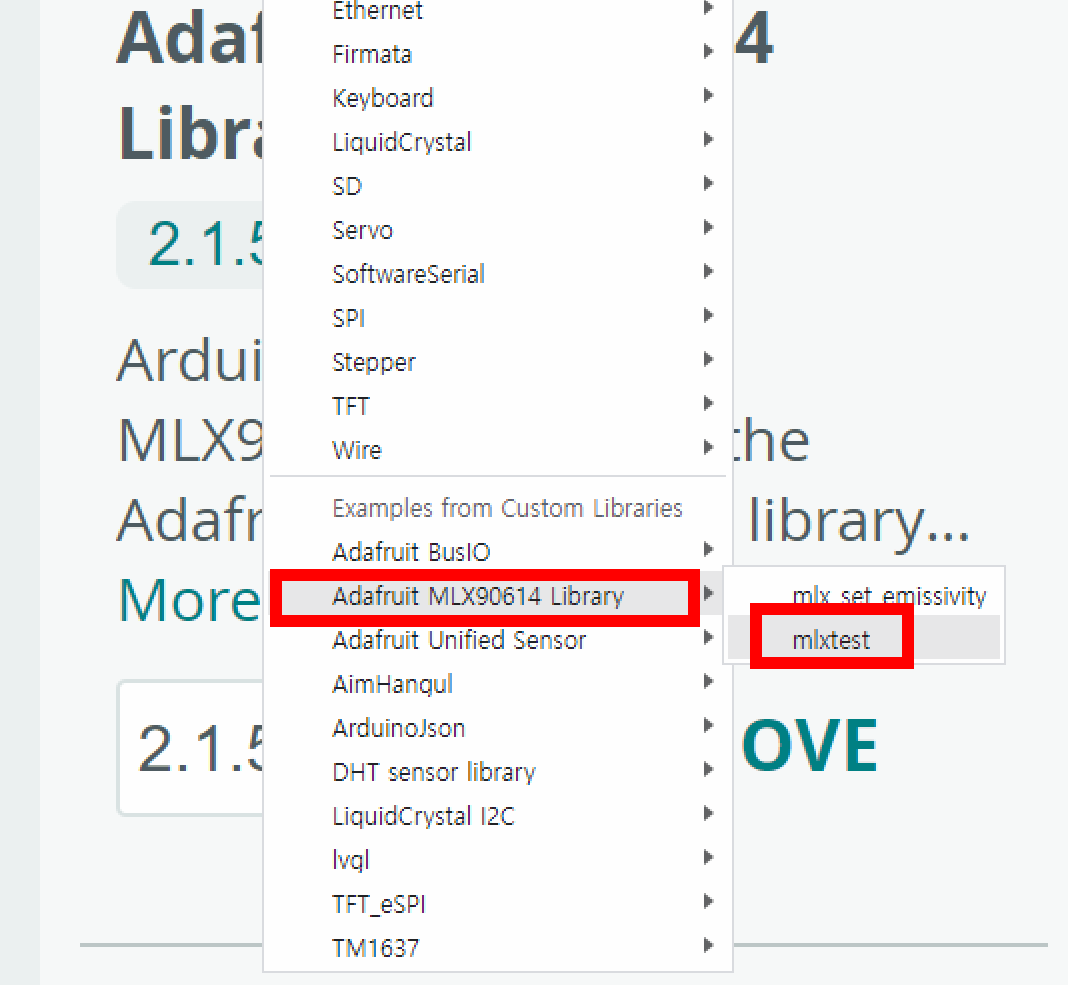
#include <Adafruit_MLX90614.h>
Adafruit_MLX90614 mlx = Adafruit_MLX90614();
void setup() {
Serial.begin(9600);
while (!Serial);
Serial.println("Adafruit MLX90614 test");
if (!mlx.begin()) {
Serial.println("Error connecting to MLX sensor. Check wiring.");
while (1);
};
Serial.print("Emissivity = "); Serial.println(mlx.readEmissivity());
Serial.println("================================================");
}
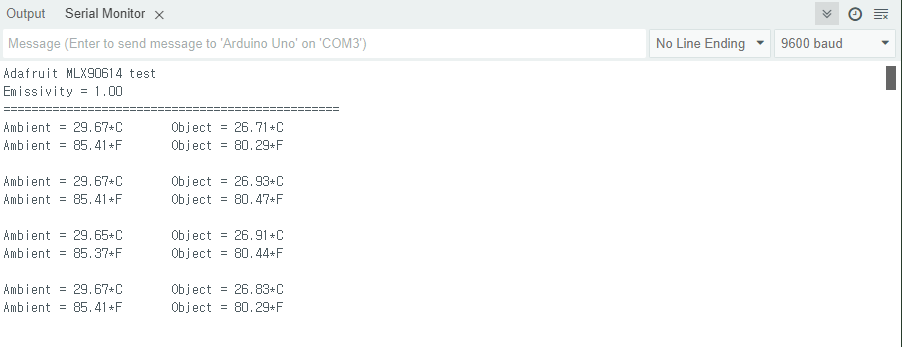
void loop() {
Serial.print("Ambient = "); Serial.print(mlx.readAmbientTempC());
Serial.print("*C\tObject = "); Serial.print(mlx.readObjectTempC()); Serial.println("*C");
Serial.print("Ambient = "); Serial.print(mlx.readAmbientTempF());
Serial.print("*F\tObject = "); Serial.print(mlx.readObjectTempF()); Serial.println("*F");
Serial.println();
delay(500);
}
'Jetson' 카테고리의 다른 글
| DC 모터 제어 (0) | 2024.07.01 |
|---|---|
| LCD 패널 제어 (0) | 2024.07.01 |
| Widget Button (1) | 2024.06.28 |
| Data collection (0) | 2024.06.27 |
| Wireless_Joystick (0) | 2024.06.24 |