ListView
2024. 6. 17. 13:00ㆍFlutter
✅ 학습 목표

✅ ListView란?

✅ Widget


✅ vertical
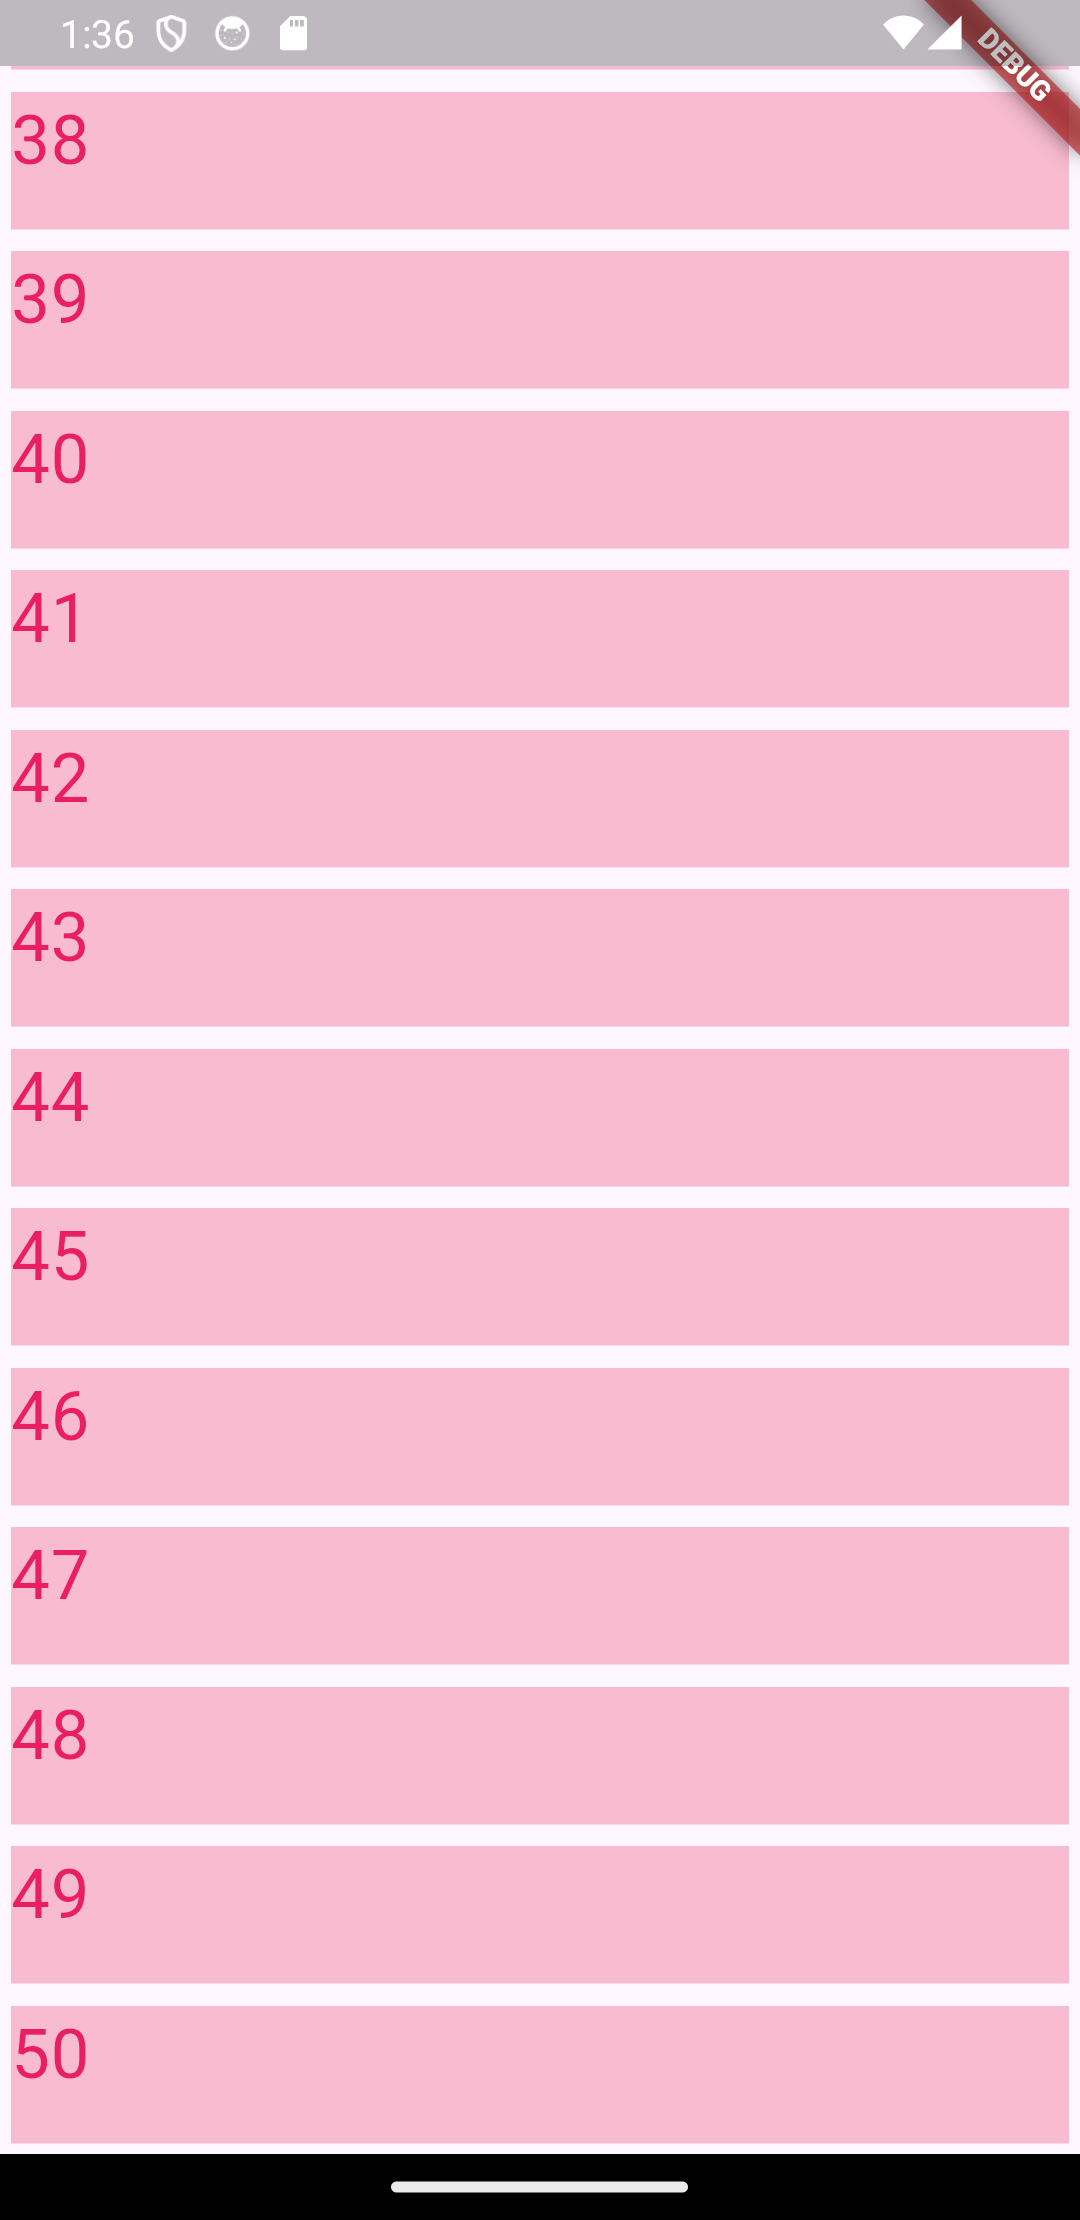
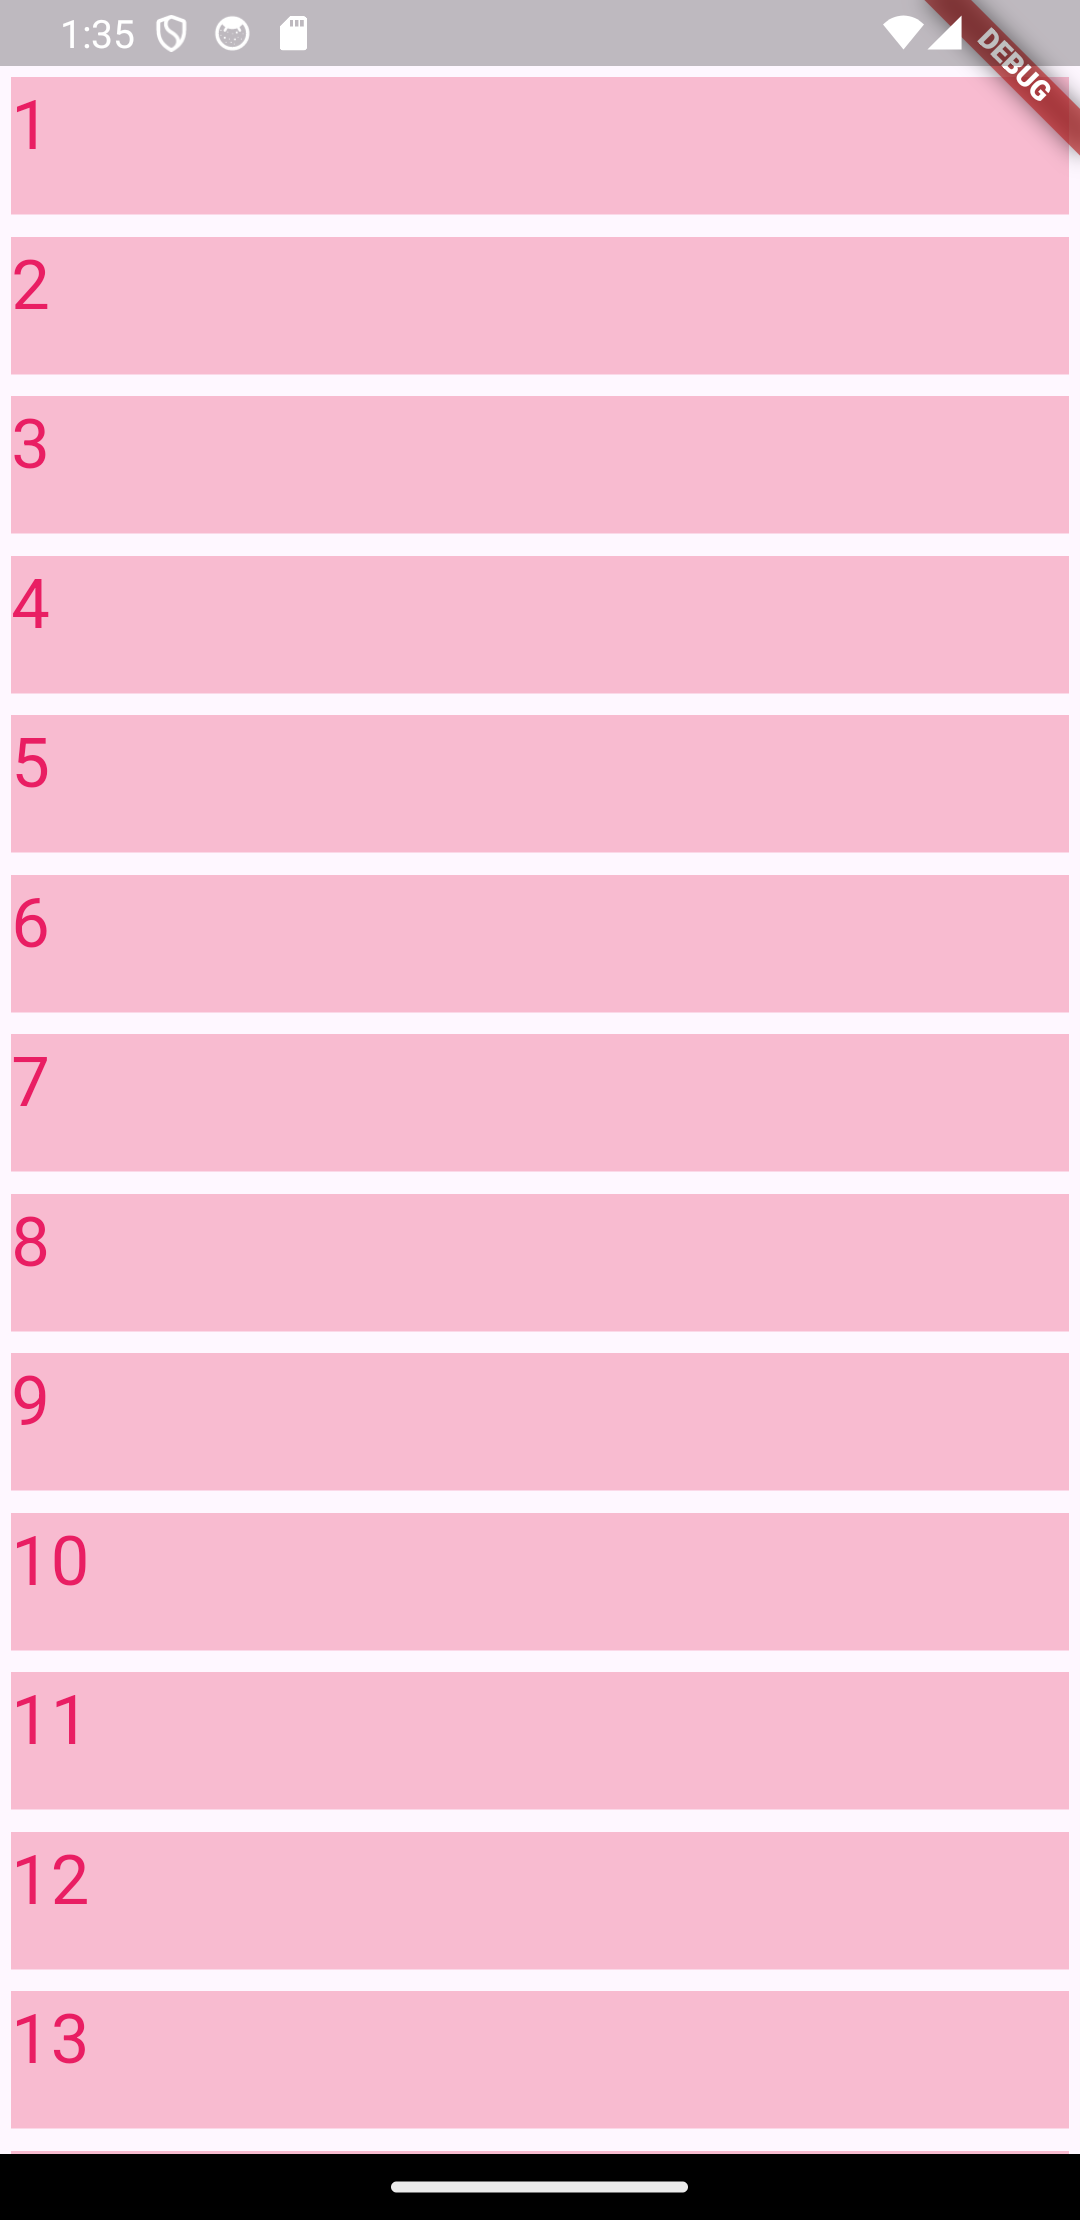
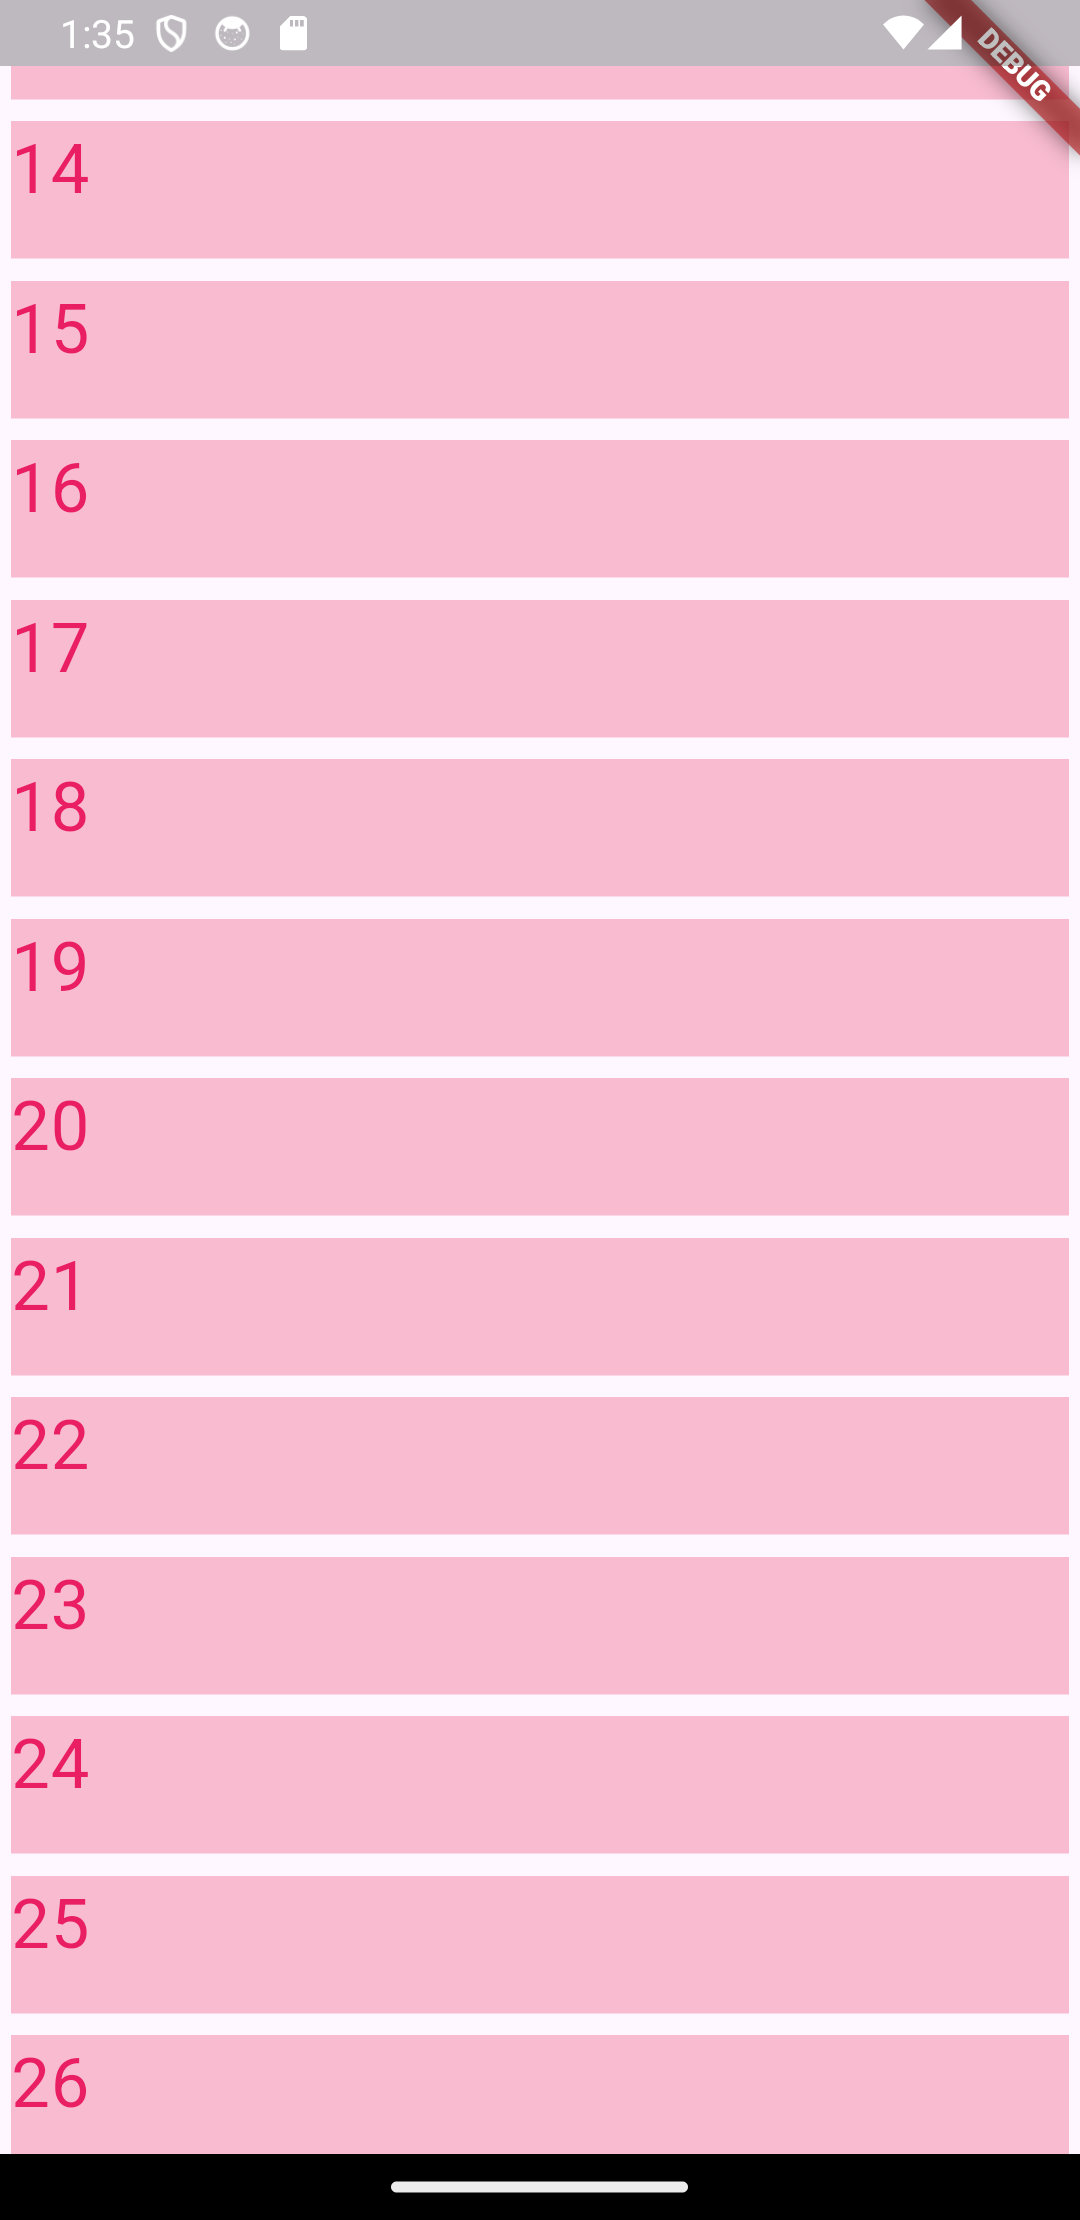
import 'package:flutter/material.dart';

class ExVertical extends StatelessWidget {
  const ExVertical({super.key});

  // 1. 대량의 데이터를 관리할 수 있는 리스트 필요!
  // 2. 대량의 데이터를 띄울 디자인 필요

  @override
  Widget build(BuildContext context) {
    // List<int> list = [1, 2, 3, 4]; -> 기존의 방법
    var intList = List<int>.generate(50, (i) => i++); // 0 ~ 49 => 50개!

    return Scaffold(
      body: SafeArea(
        child: ListView.builder(

          // 생성하지 않으면 화면 설계시 오류가 발생!
          // 아이템의 갯수를 지정하기 위하여 생성된 리스트의 길이를 활용한다!
          itemCount: intList.length,

          // ListView의 필수 요소!
          itemBuilder: (context, index) => Container(
            height: 50,
            margin: EdgeInsets.all(4),
            color: Colors.pink[100],
            child: Text(
              '${intList[index] + 1}', // 1부터 실행하고 싶으면 + 1
              style: TextStyle(fontSize: 25, color: Colors.pink),
            ),
          ),
        ),
      ),
    );
  }
}

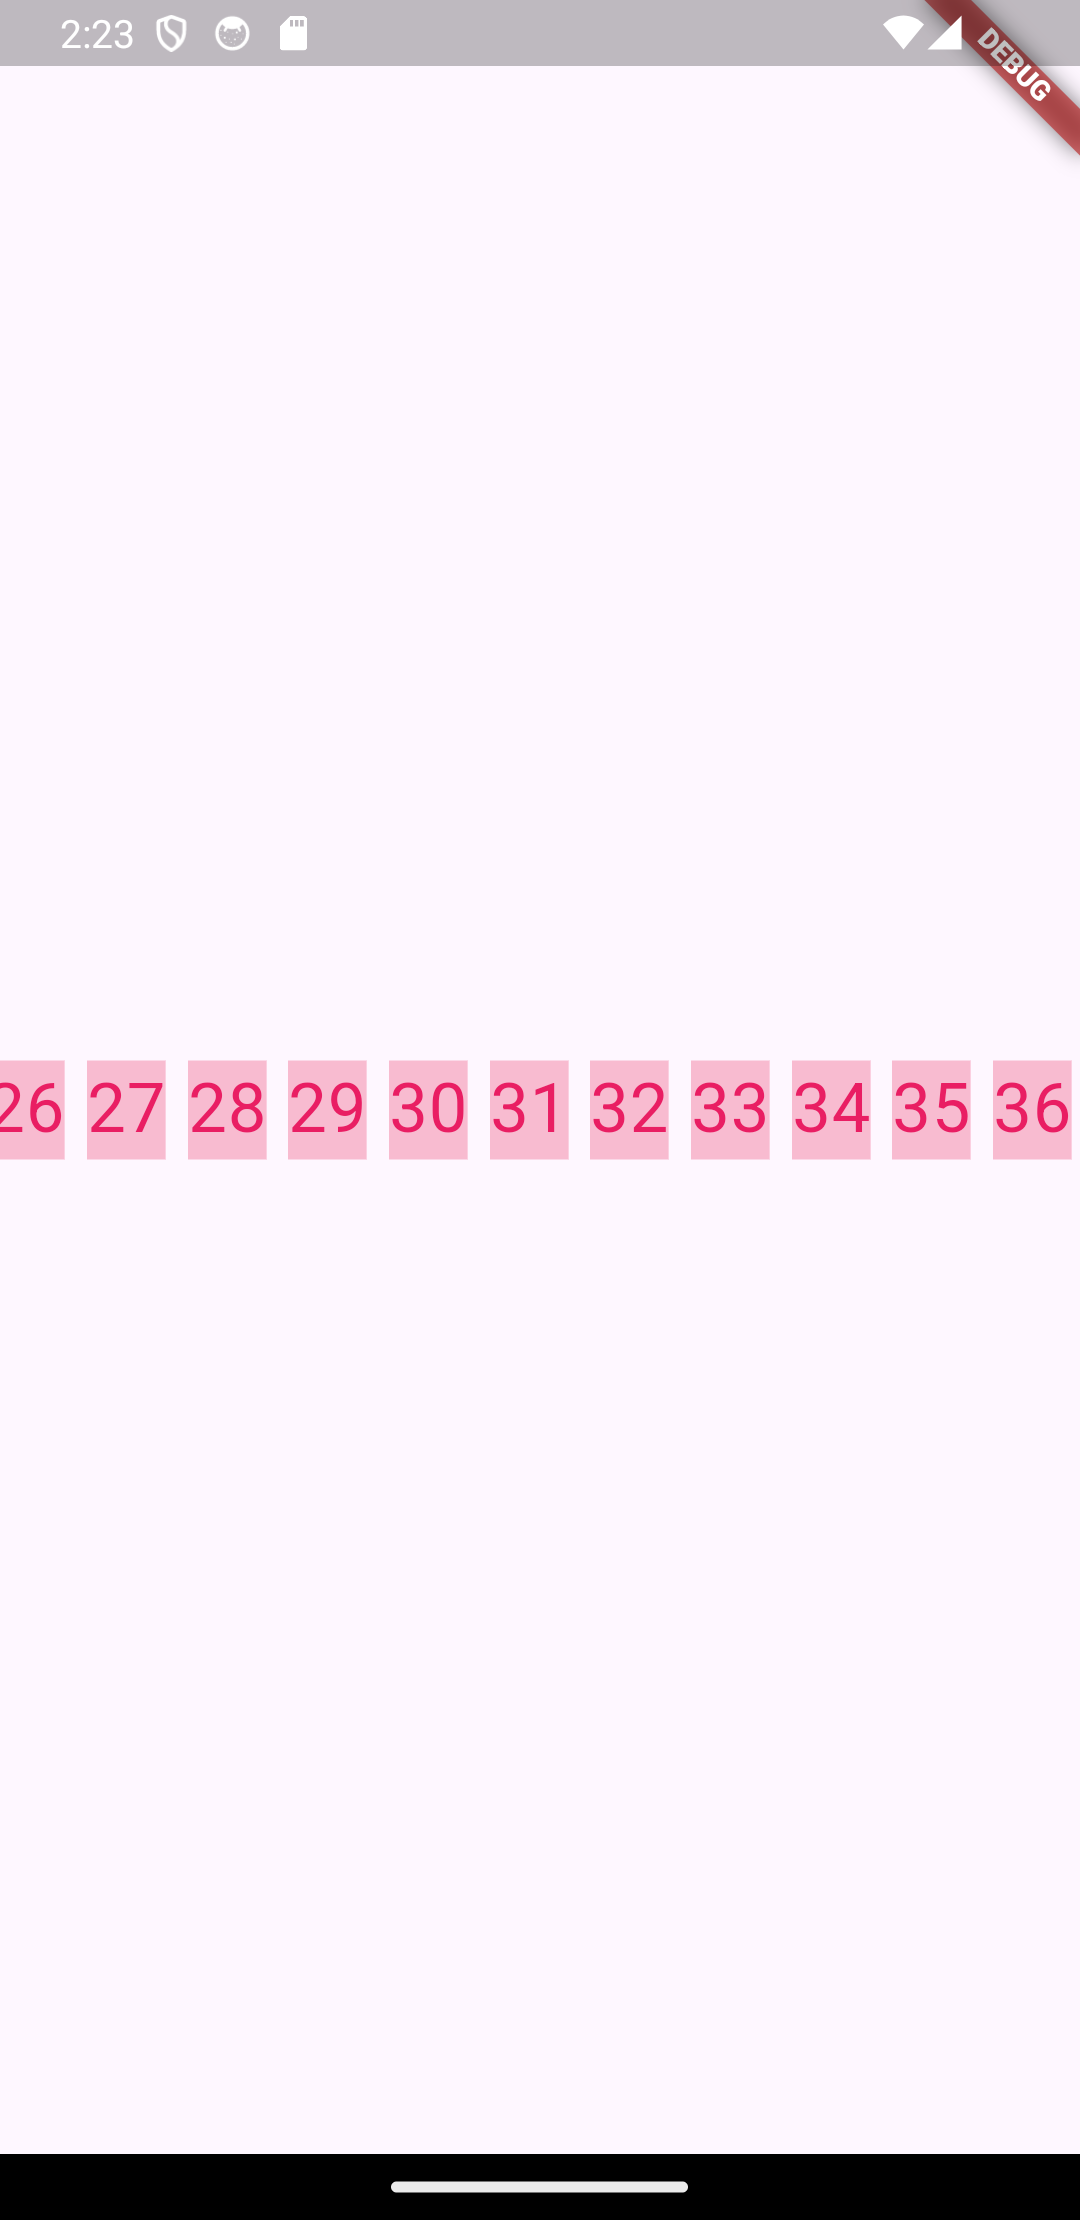
✅ horizontal
import 'package:flutter/material.dart';

class ExHorizontal extends StatelessWidget {
  const ExHorizontal({super.key});

  // 1. 리스트 뷰의 데이터 생성
  // 2. 리스트 뷰 디자인 생성
  //  - 필수요소 체크하기!
  //  - 화면 실행시 발생되는 오류 해결하기!

  @override
  Widget build(BuildContext context) {
    var intList2 = List<int>.generate(
        50, (i) => i++); // 같은 폴더 안에 동일한 변수명을 가지면 충돌이 일어날 확률이 높기 때문에 변경!

    return Scaffold(
      body: SafeArea(
        child: ListView.builder(
          // 리스트뷰의 기본 형태는 Vertical!
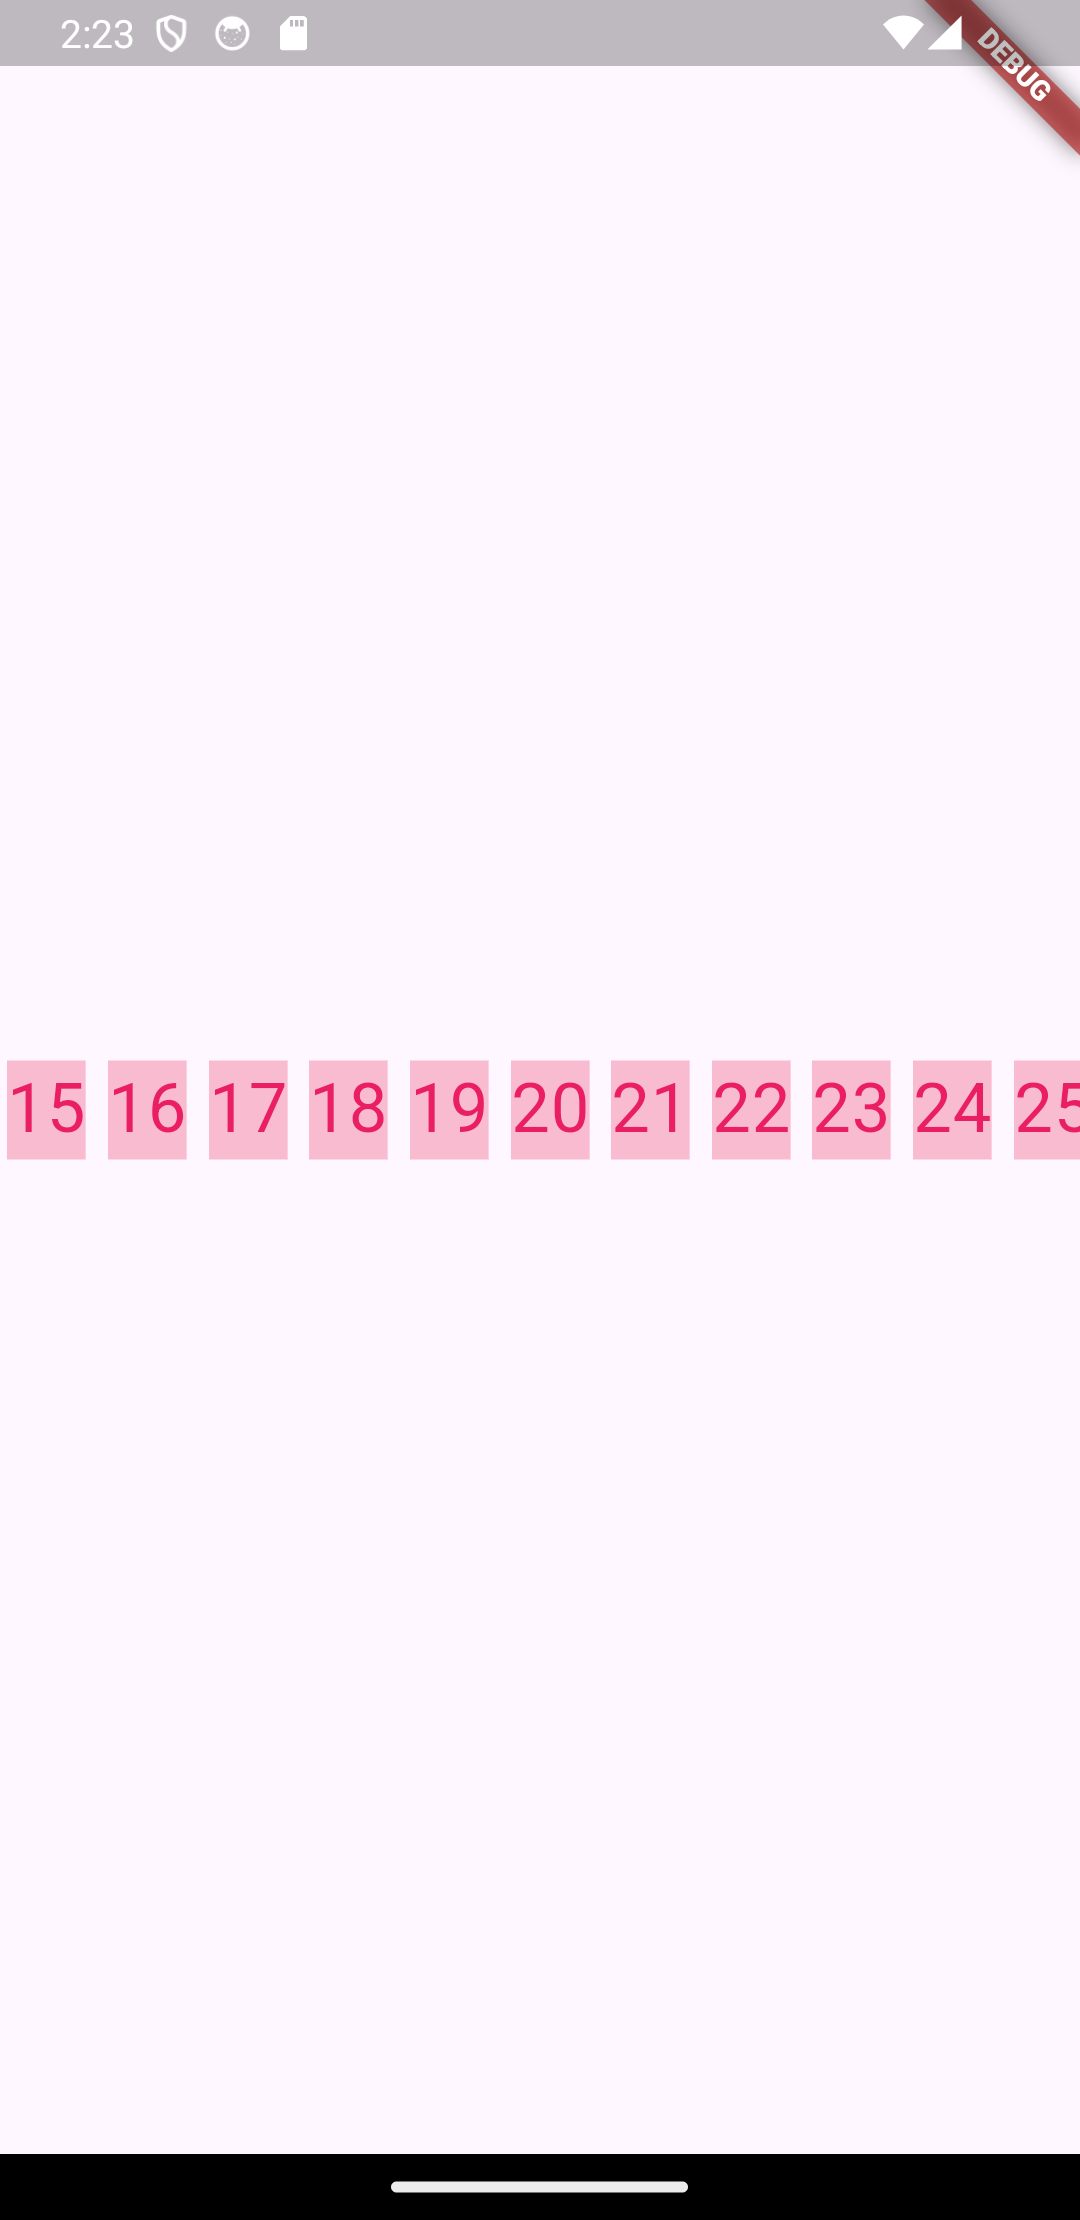
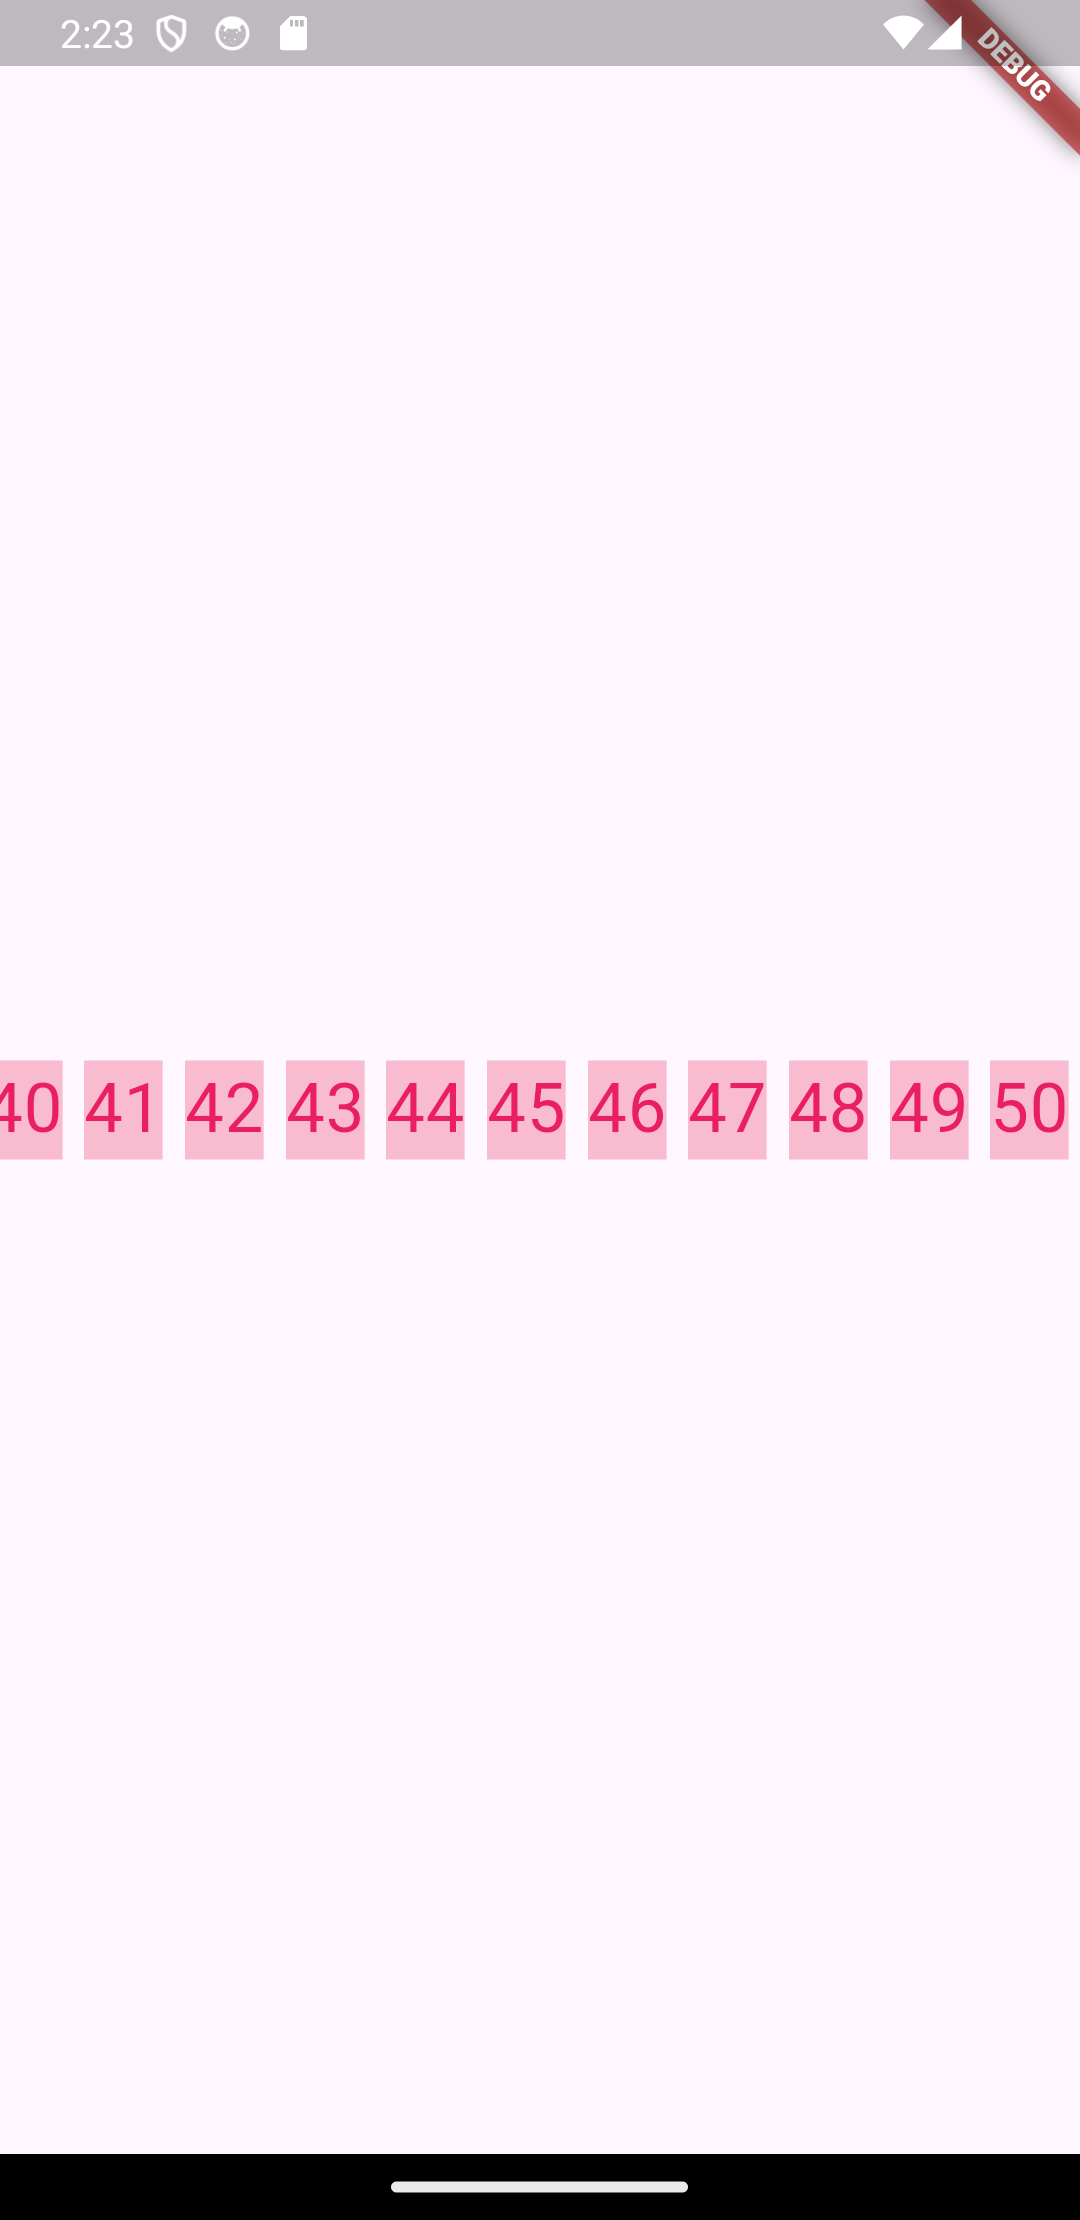
          // 형태를 바꾸기 위한 기능 -> scrollDirection -> Axis.horizontal,
          scrollDirection: Axis.horizontal,

          itemCount: intList2.length,
          itemBuilder: (context, index) => Center(
            child: Container(
              color: Colors.pink[100],
              margin: EdgeInsets.all(4),
              child: Text(
                '${intList2[index] + 1}', // 1부터 실행하고 싶으면 + 1
                style: TextStyle(fontSize: 25, color: Colors.pink),
              ),
            ),
          ),
        ),
      ),
    );
  }
}



✅ gird
import 'package:flutter/material.dart';

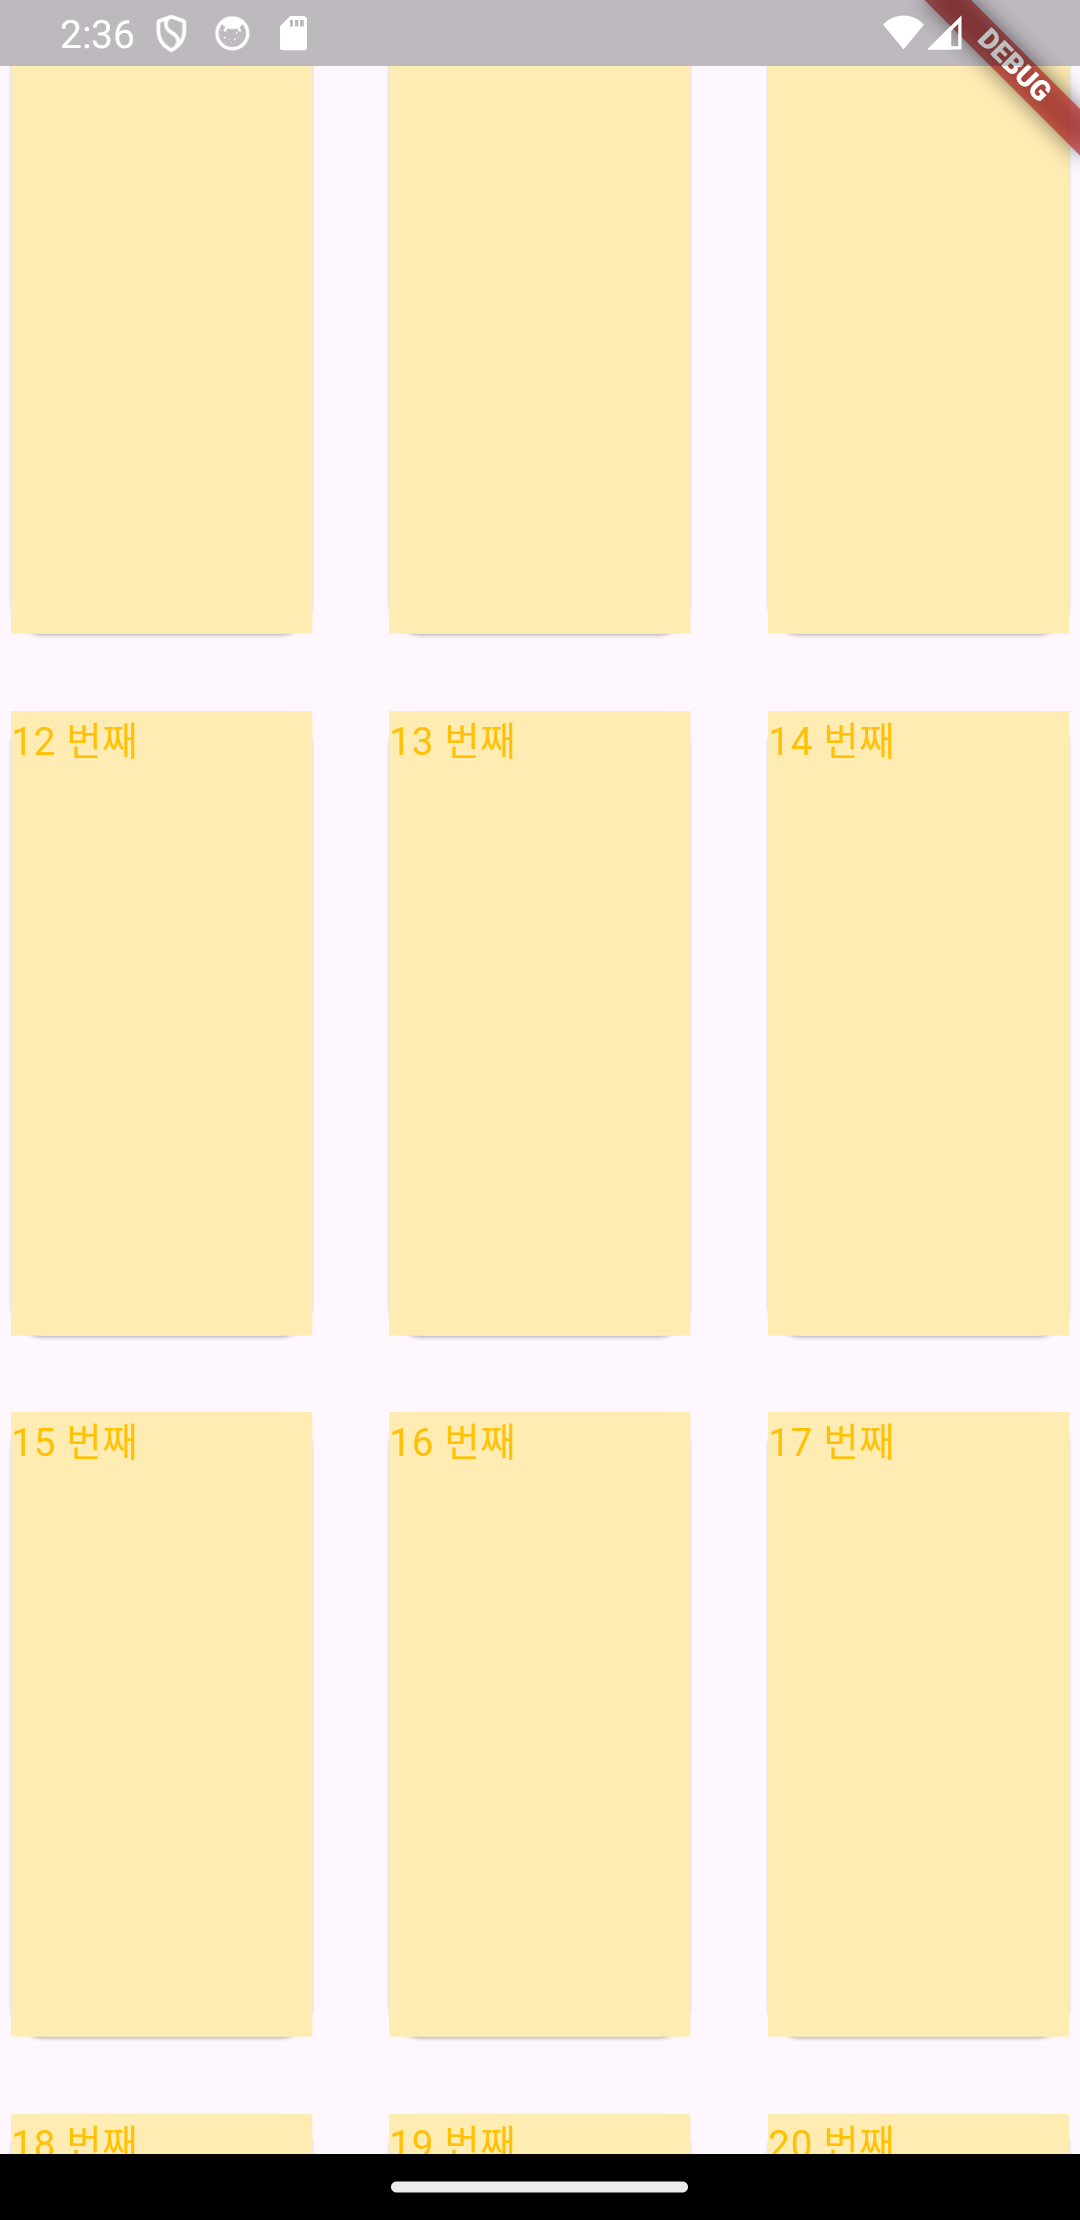
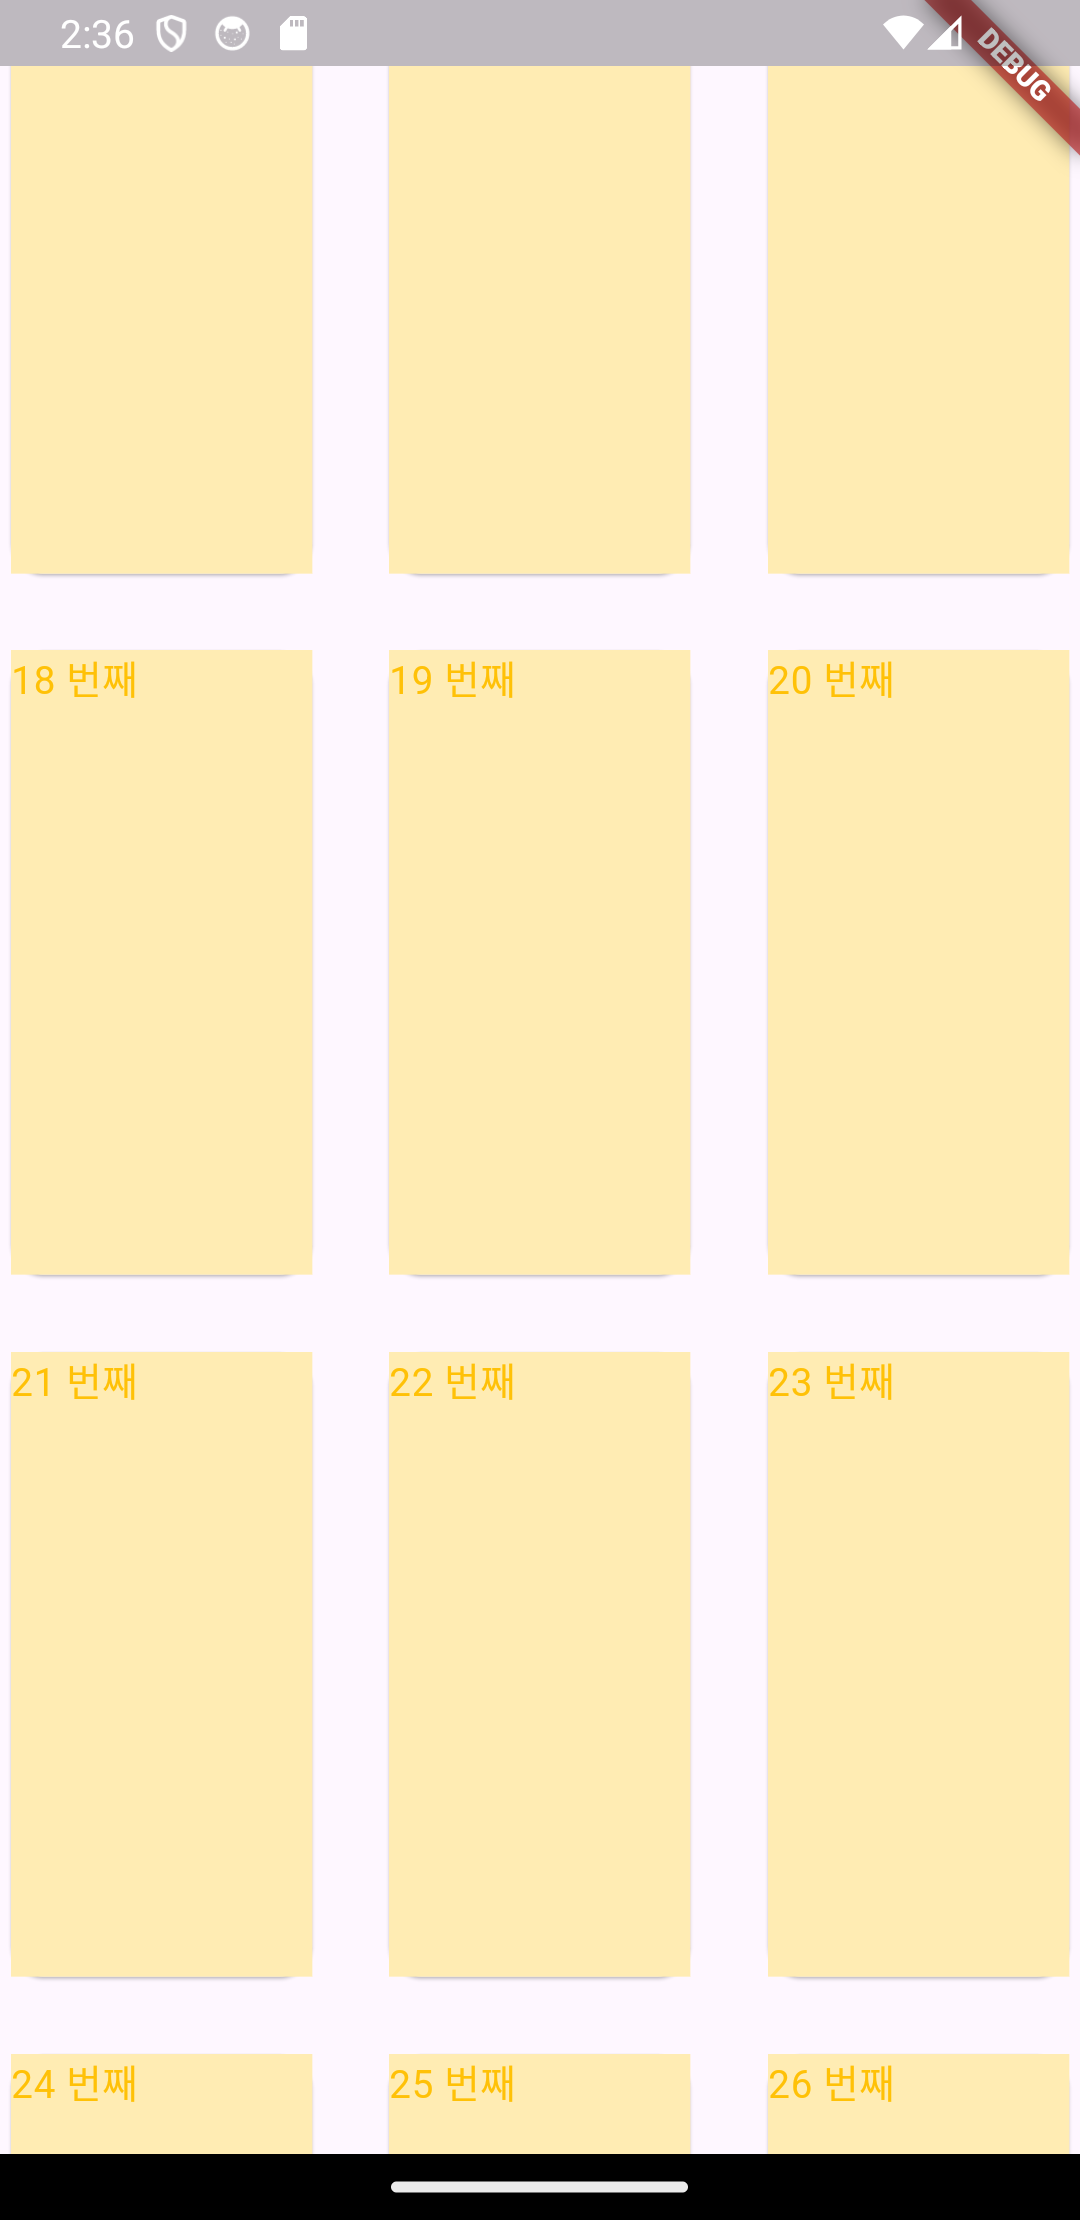
// Grid를 생성하는 방식은 두가지의 방식이 있다!
//  - count 방식 / extent 방식

// 1. Count 방식
class ExGridCount extends StatelessWidget {
  const ExGridCount({super.key});

  @override
  Widget build(BuildContext context) {
    var intList3 = List<int>.generate(30, (i) => i++);

    return Scaffold(
      body: SafeArea(
        child: GridView.builder(
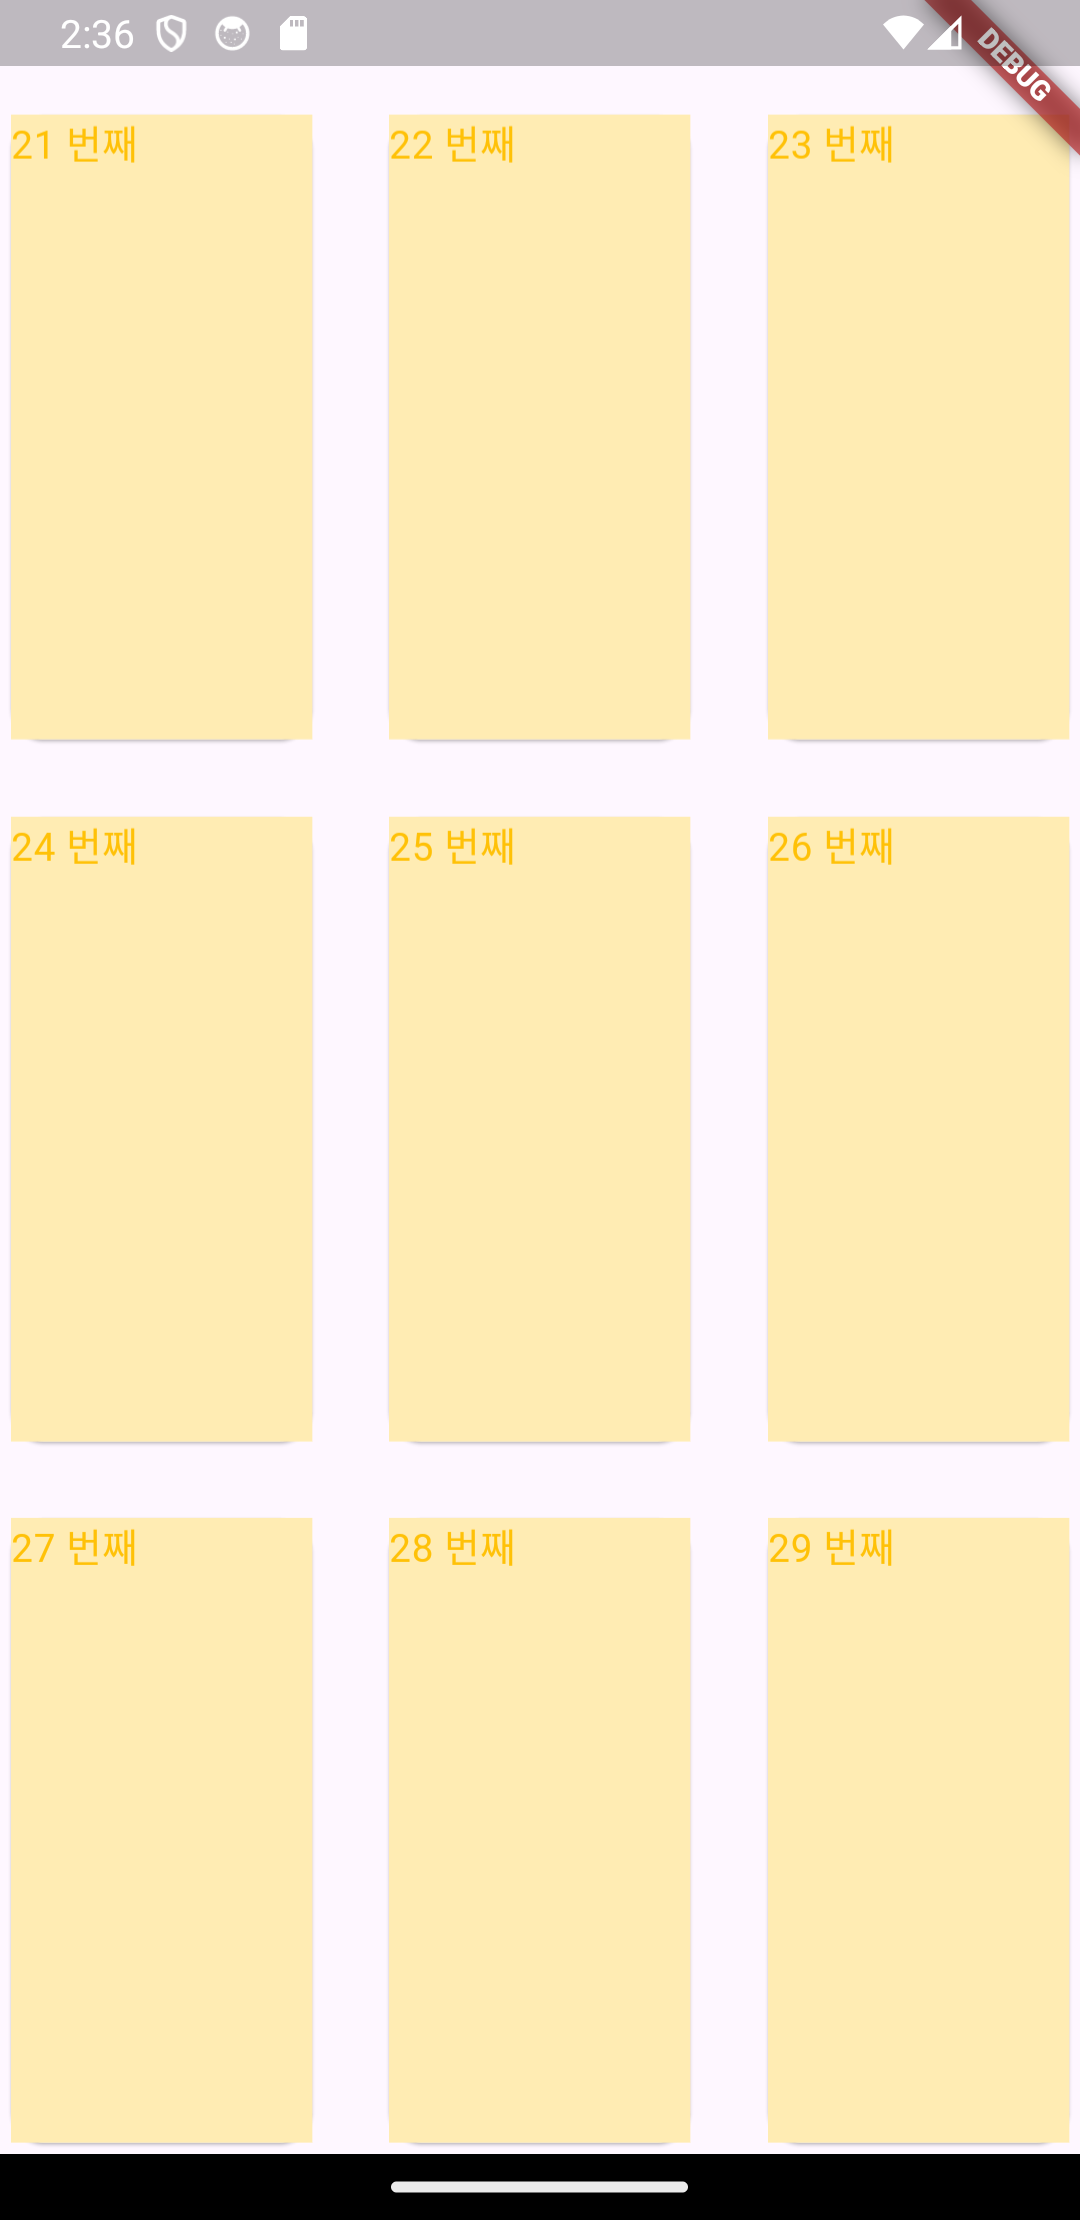
          gridDelegate: SliverGridDelegateWithFixedCrossAxisCount(
            // crossAxisCount -> 하나의 축에 몇 개의 데이터를 넣을지 지정하는 요소!
            crossAxisCount: 3,
            childAspectRatio: 1 / 2, // 가로/세로 -> 비율
            crossAxisSpacing: 20, // 그리드와 그리드 사이의 간격 조절!
            mainAxisSpacing: 20, // 축과 축 사이의 간격 조절!
          ),
          itemCount: intList3.length,
          itemBuilder: (context, index) => Card(
            child: Container(
              color: Colors.amber[100],
              child: Text(
                '${intList3[index]} 번째',
                style: TextStyle(
                  color: Colors.amber,
                ),
              ),
            ),
          ),
        ),
      ),
    );
  }
}

// 2. Extent 방식
class ExGridExtent extends StatelessWidget {
  const ExGridExtent({super.key});

  @override
  Widget build(BuildContext context) {

    var intList4 = List<int>.generate(30, (i) => i++);

    return Scaffold(
      body: SafeArea(
        child: GridView.builder(
            // 디바이스의 너비를 기준으로 배치하는 기능!
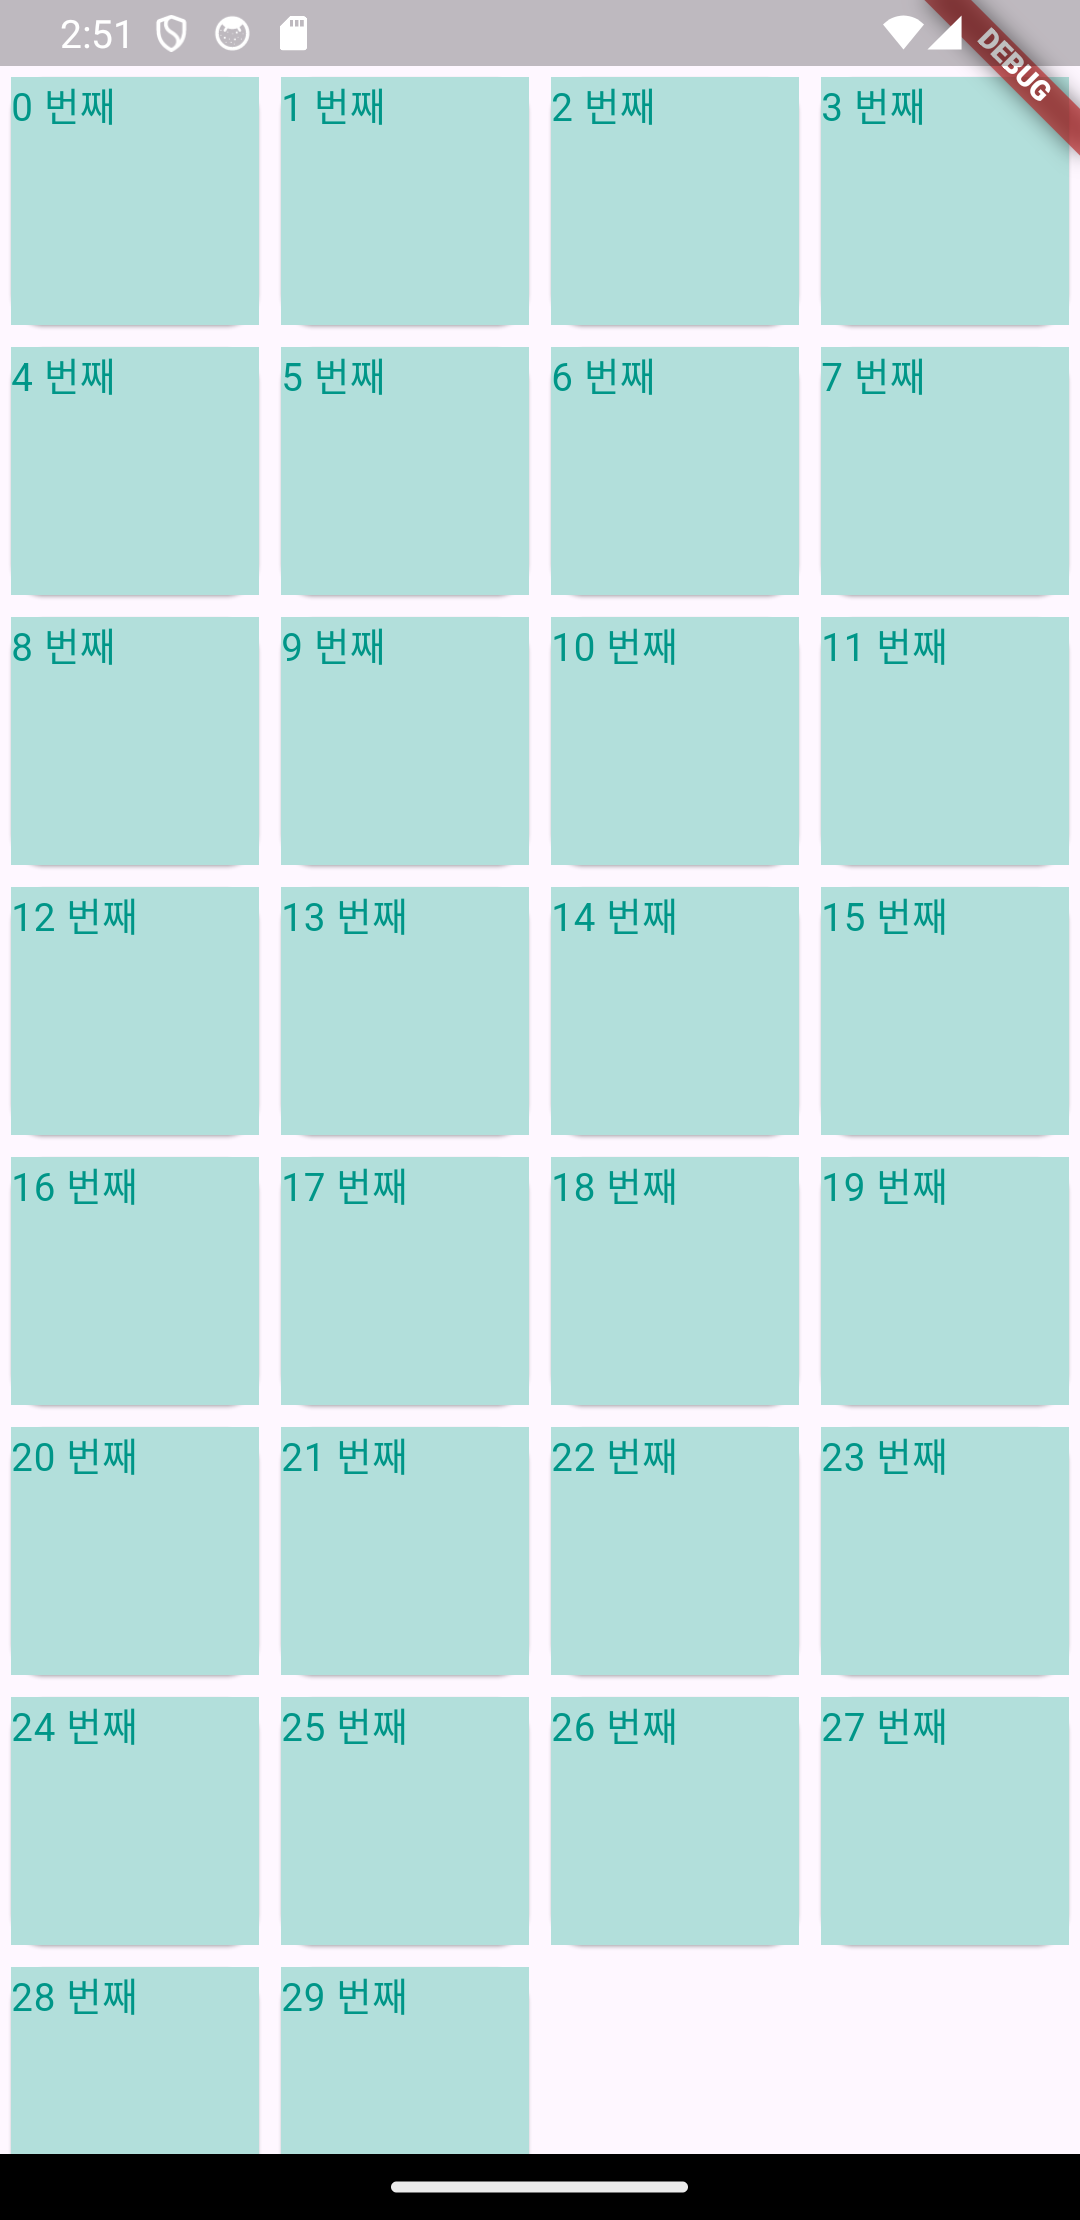
            gridDelegate: SliverGridDelegateWithMaxCrossAxisExtent(
              // 디바이스 너비 / maxCrossAxisExtent(지정값) + 1 만큼 그리드를 배치
              maxCrossAxisExtent: 100,
            ),
            itemCount: intList4.length,
            itemBuilder: (context, index) =>
        Card(child: Container(color: Colors.teal[100],
        child: Text('${intList4[index]} 번째', style: TextStyle(color: Colors.teal),),),)),
      ),
    );
  }
}

✅ ListView 실습

  assets:
    - images/
import 'package:flutter/material.dart';
class ExRyan extends StatefulWidget {
const ExRyan({super.key});
@override
State<ExRyan> createState() => _ExRyanState();
}
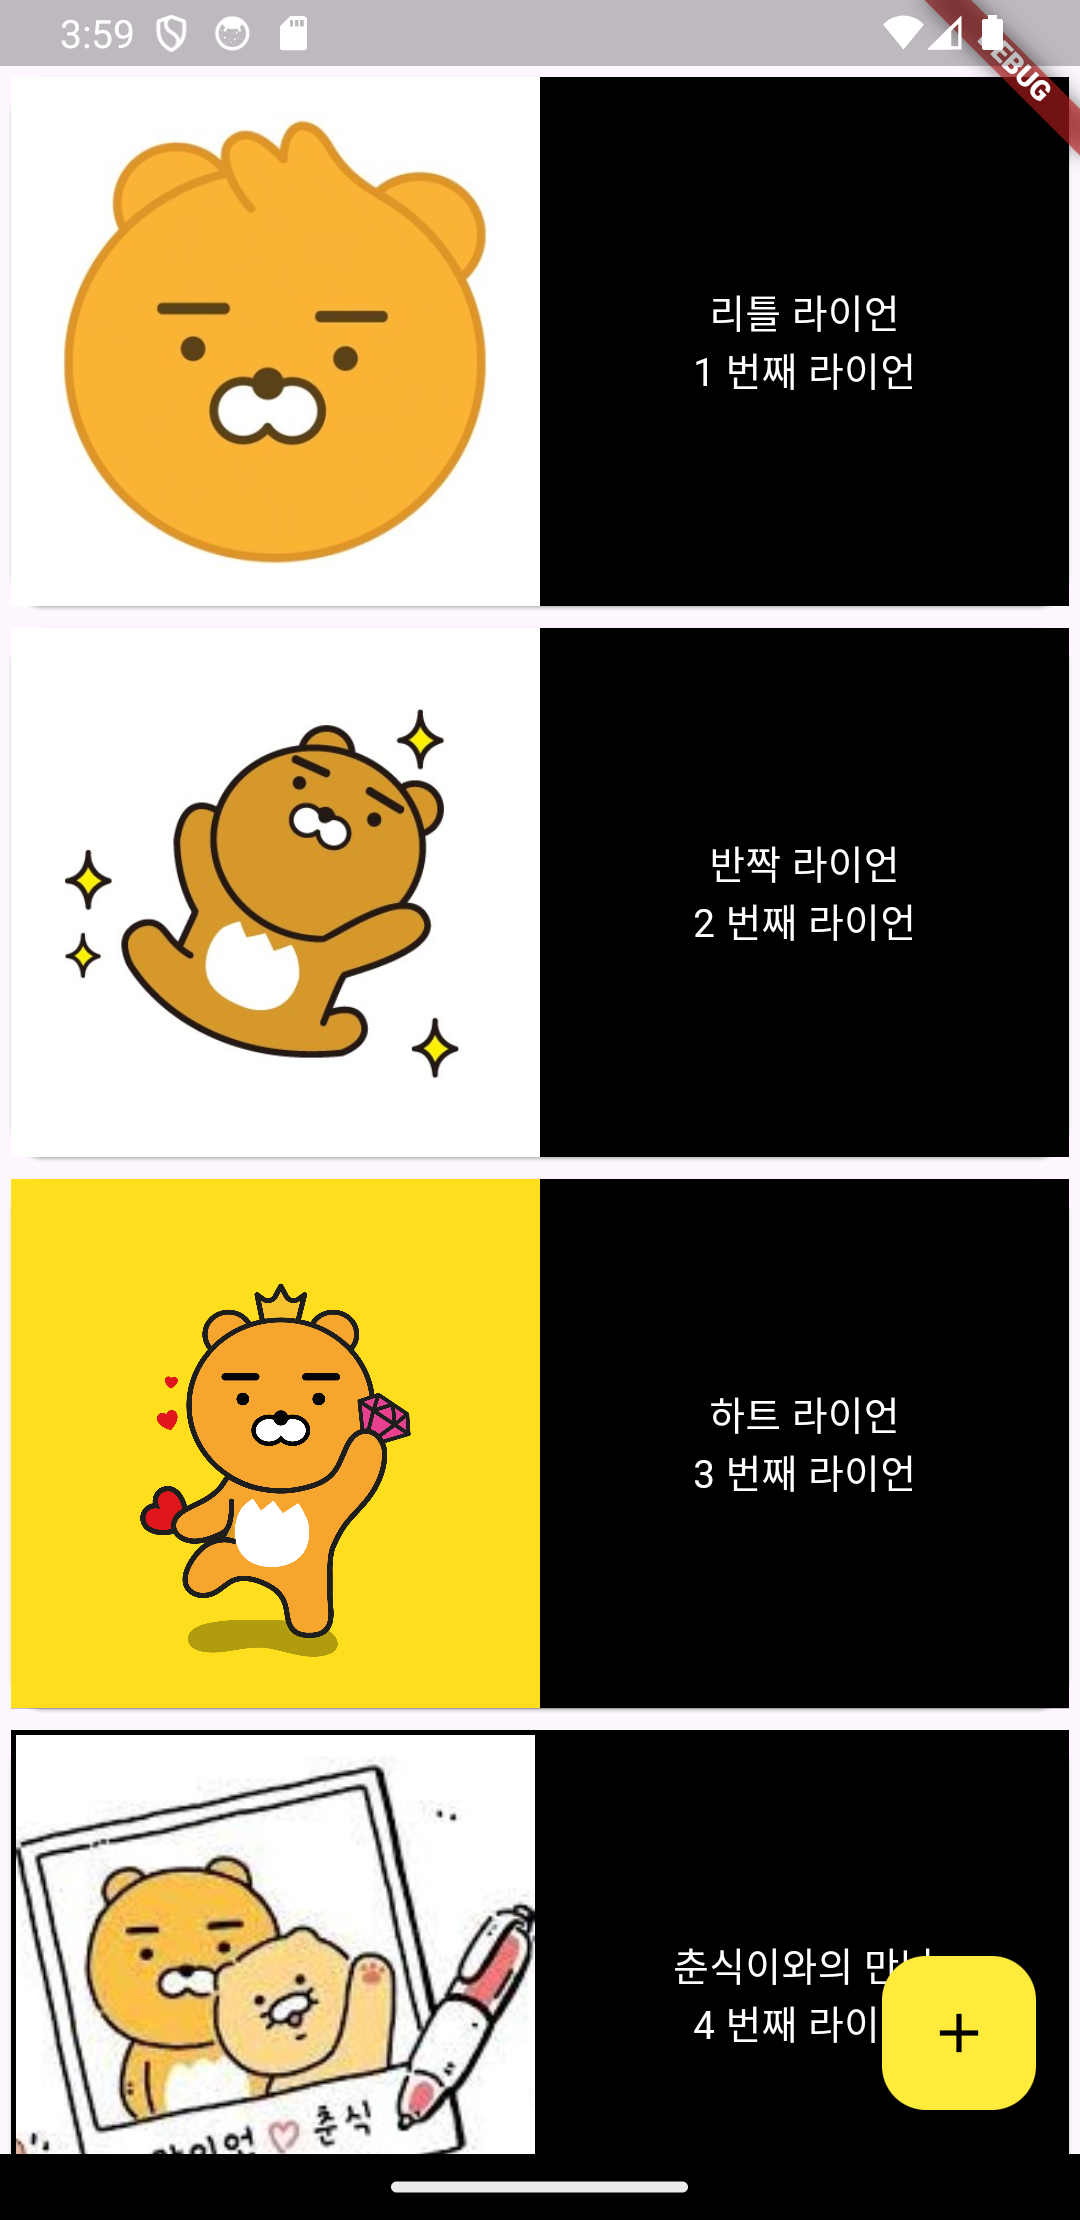
// 1. 데이터를 관리하기 위한 리스트 생성! -> 이미지 / 텍스트
var imgList = [
'images/ryan1.jpg',
'images/ryan2.png',
'images/ryan3.jpg',
'images/ryan4.png',
'images/ryan5.png',
'images/ryan6.jpg'
];
var txtList = ['리틀 라이언', '반짝 라이언', '하트 라이언', '춘식이와의 만남', '룸메는 춘식이', '좋아요 라이언'];
class _ExRyanState extends State<ExRyan> {
@override
Widget build(BuildContext context) {
return Scaffold(
// 액션을 감지하는 버튼 생성
floatingActionButton: FloatingActionButton(
onPressed: () {
// 버튼이 눌리면 리스트가 추가되는 기능 설계!
setState(() {
imgList.add('images/t1.jpg');
txtList.add('우승 가자!');
});
},
child: Icon(
Icons.add,
color: Colors.black,
),
backgroundColor: Colors.yellow,
),
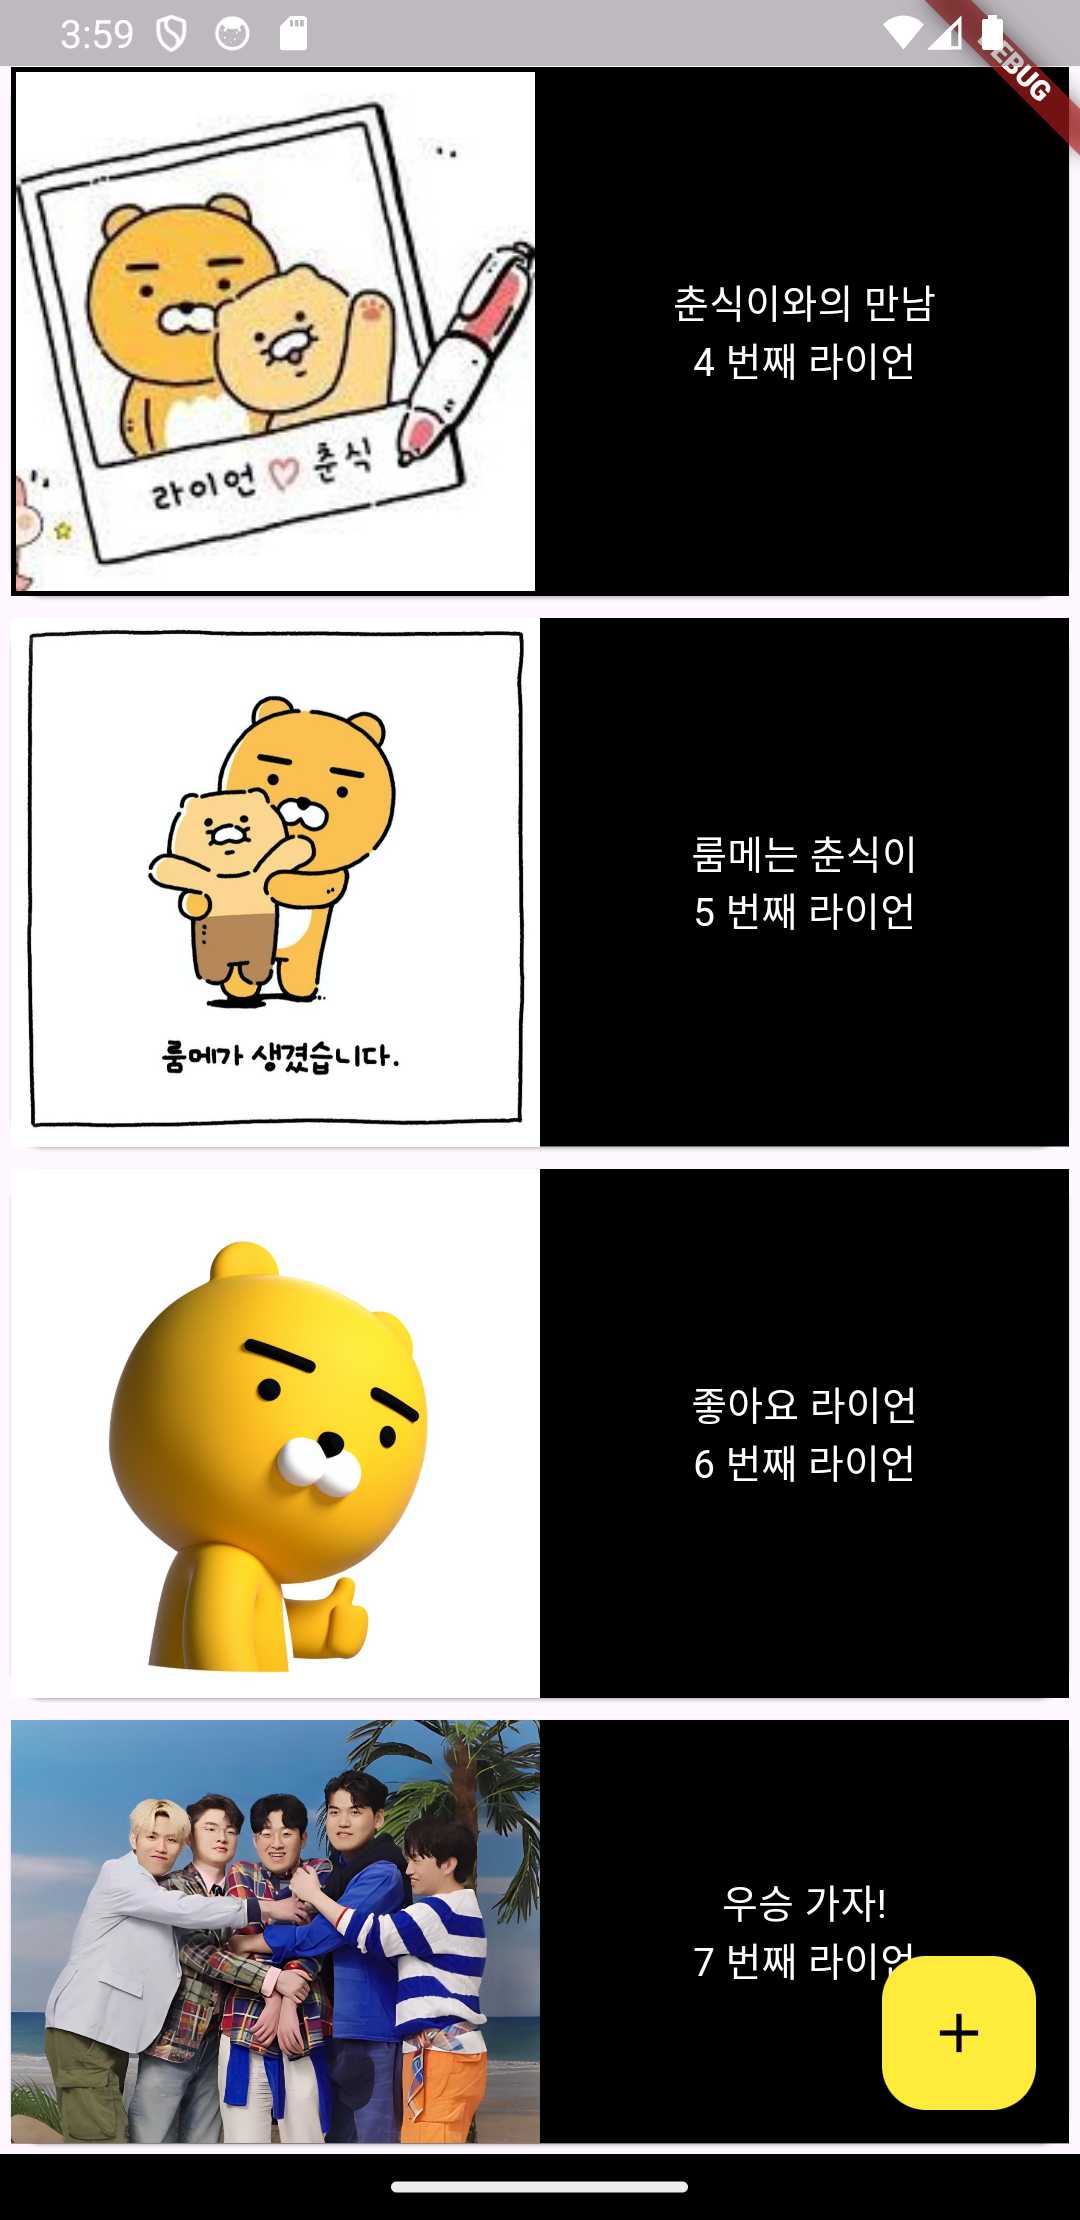
// 2. ListView 생성 작업 시작!
body: SafeArea(
child: ListView.builder(
itemCount: imgList.length,
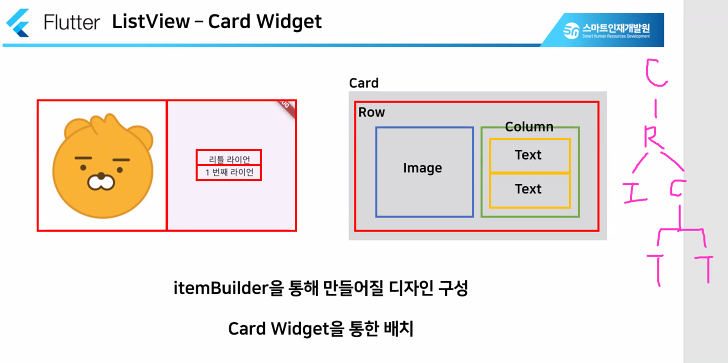
itemBuilder: (context, index) => Card(
child: Container(
color: Colors.black,
child: Row(
children: [
// 각각의 이미지의 크기를 일정한 비율로 맞추기 위한 Expanded 위젯 사용!
Expanded(child: Image.asset(imgList[index])),
Expanded(
child: Column(
children: [
Text(
'${txtList[index]}',
style: TextStyle(color: Colors.white),
),
Text(
'${index + 1} 번째 라이언',
style: TextStyle(color: Colors.white),
),
],
),
)
],
),
),
),
),
),
);
}
}
✅ Dialog

import 'package:flutter/material.dart';
import 'package:flutter0617/ryan/ryanDetail.dart';

class ExRyan extends StatefulWidget {
  const ExRyan({super.key});

  @override
  State<ExRyan> createState() => _ExRyanState();
}

class _ExRyanState extends State<ExRyan> {
  // 1. 데이터를 관리하기 위한 리스트 생성! -> 이미지 / 텍스트

  var imgList = [
    'images/ryan1.jpg',
    'images/ryan2.png',
    'images/ryan3.jpg',
    'images/ryan4.png',
    'images/ryan5.png',
    'images/ryan6.jpg'
  ];

  var txtList = [
    '리틀 라이언',
    '반짝 라이언',
    '하트 라이언',
    '춘식이와의 만남',
    '룸메는 춘식이',
    '좋아요 라이언'
  ];

  @override
  Widget build(BuildContext context) {
    return Scaffold(
      // 액션을 감지하는 버튼 생성
      floatingActionButton: FloatingActionButton(
        onPressed: () {
          // 버튼이 눌리면 리스트가 추가되는 기능 설계!
          setState(() {
            imgList.add('images/t1.jpg');
            txtList.add('우승 가자!');
          });
        },
        child: Icon(
          Icons.add,
          color: Colors.black,
        ),
        backgroundColor: Colors.yellow,
      ),

      // 2. ListView 생성 작업 시작!
      body: SafeArea(
        child: ListView.builder(
          itemCount: imgList.length,
          itemBuilder: (context, index) => GestureDetector(
            // 리스트뷰에 있는 각각의 항목이 제스처를 감지하도록 감싼다!
            onTap: () {
              // print('${txtList[index]}');

              // 항목이 선택되었을 경우 팝업창 띄우기!
              showPop(imgList[index], txtList[index], index);
            },
            child: Card(
              child: Container(
                color: Colors.black,
                child: Row(
                  children: [
                    // 각각의 이미지의 크기를 일정한 비율로 맞추기 위한 Expanded 위젯 사용!
                    Expanded(child: Image.asset(imgList[index])),
                    Expanded(
                      child: Column(
                        children: [
                          Text(
                            '${txtList[index]}',
                            style: TextStyle(color: Colors.white),
                          ),
                          Text(
                            '${index + 1} 번째 라이언',
                            style: TextStyle(color: Colors.white),
                          ),
                        ],
                      ),
                    )
                  ],
                ),
              ),
            ),
          ),
        ),
      ),
    );
  }

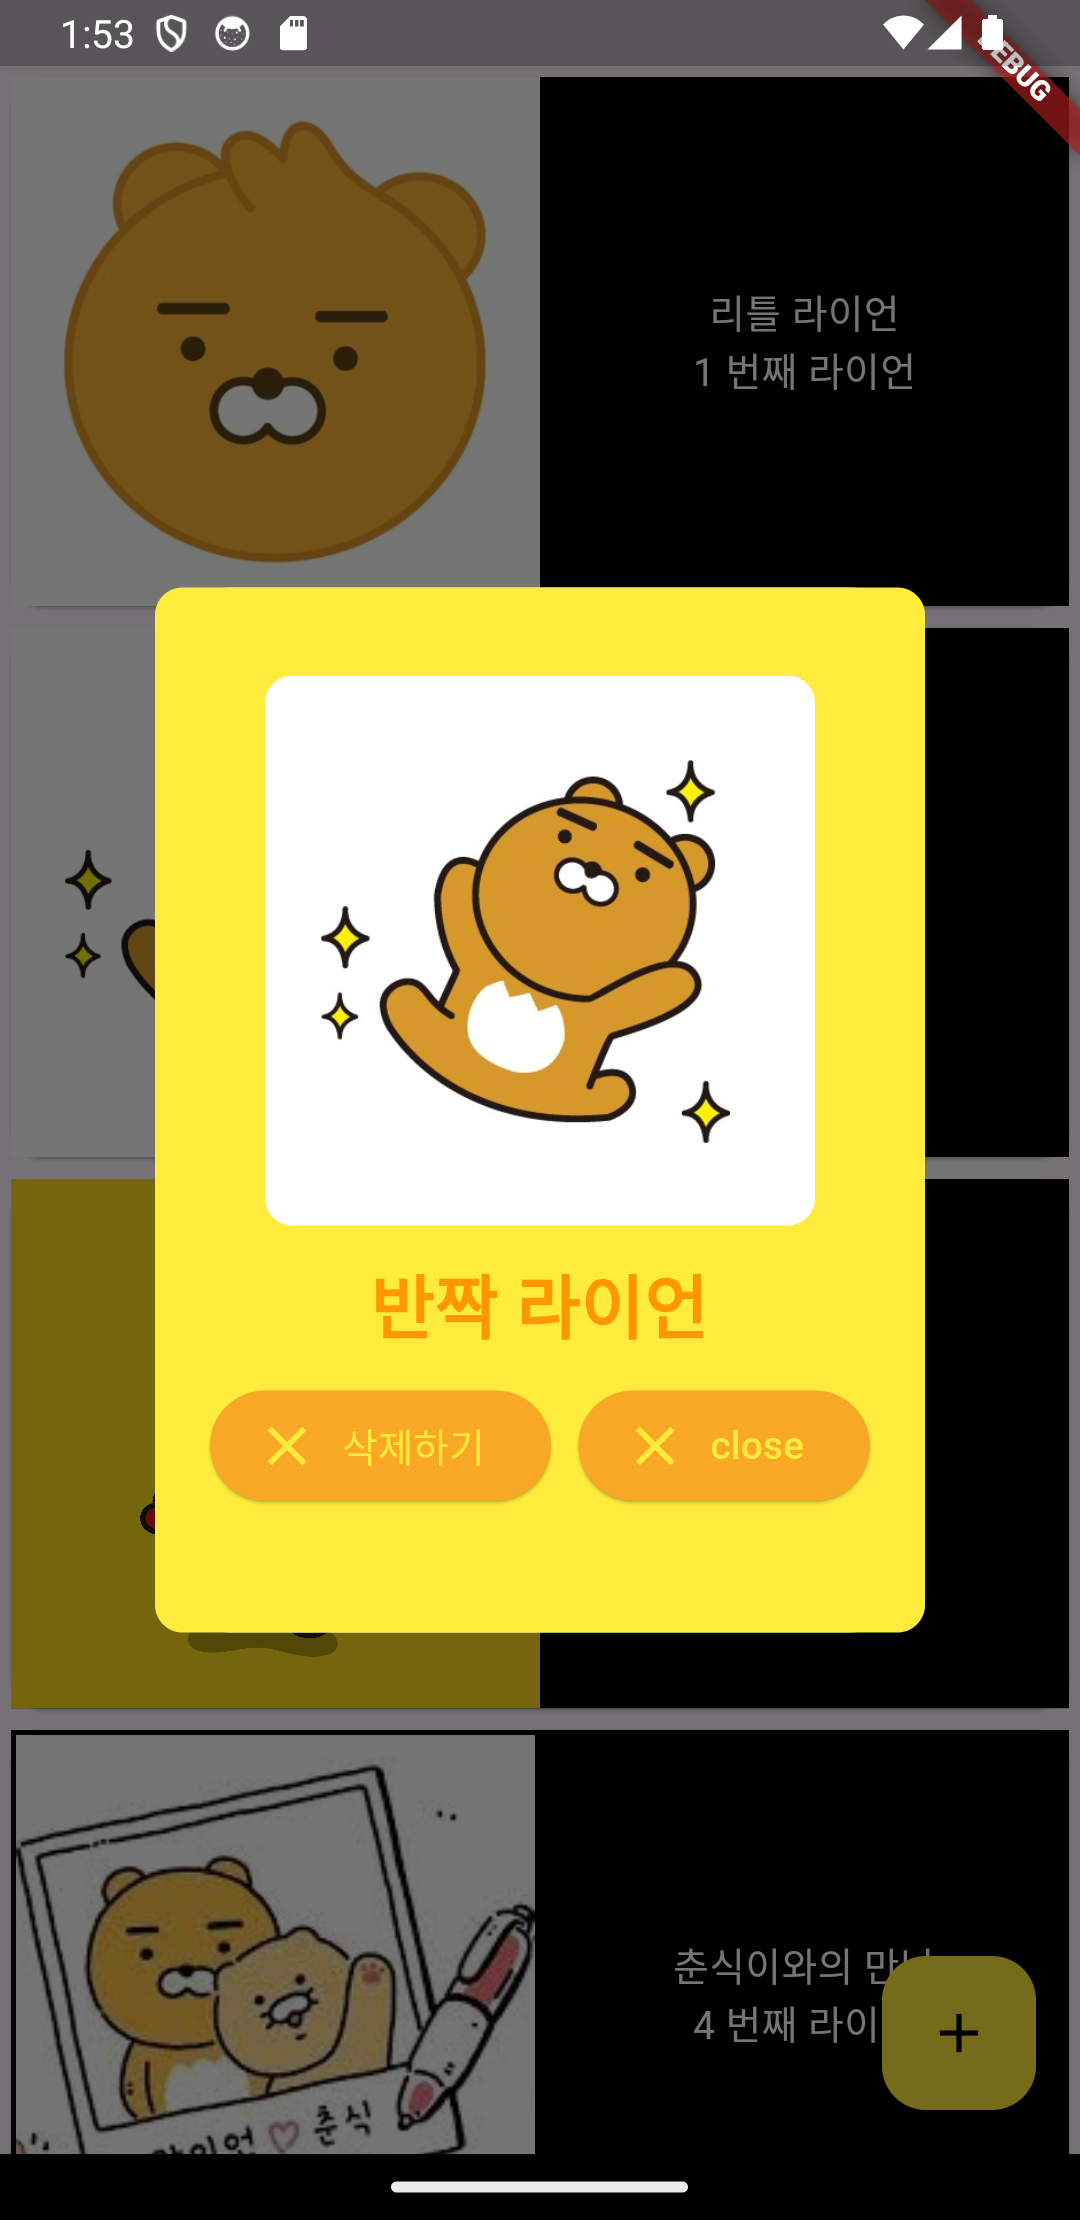
  void showPop(image, name, index) {
    showDialog(
        context: context,
        builder: (context) {
          return Dialog(
            child: Container(
              width: MediaQuery.of(context).size.width * 0.7,
              height: 380,
              decoration: BoxDecoration(
                borderRadius: BorderRadius.circular(10),
                color: Colors.yellow,
              ),
              child: Column(
                children: [
                  SizedBox(
                    height: 32,
                  ),
                  ClipRRect(
                    borderRadius: BorderRadius.circular(10),
                    child: Image.asset(
                      image,
                      width: 200,
                      height: 200,
                    ),
                  ),
                  SizedBox(
                    height: 10,
                  ),
                  Text(
                    name,
                    style: TextStyle(
                        fontSize: 25,
                        fontWeight: FontWeight.bold,
                        color: Colors.orange),
                  ),
                  Padding(
                    padding: EdgeInsets.all(8),
                    child: Row(
                      mainAxisAlignment: MainAxisAlignment.center,
                      children: [
                        ElevatedButton.icon(
                          onPressed: () {},
                          icon: Icon(
                            Icons.close,
                            color: Colors.yellow,
                          ),
                          label: Text(
                            '삭제하기',
                            style: TextStyle(color: Colors.yellow),
                          ),
                          style: ElevatedButton.styleFrom(
                            backgroundColor: Colors.yellow[800],
                          ),
                        ),
                        SizedBox(
                          width: 10,
                        ),
                        ElevatedButton.icon(
                          onPressed: () {},
                          icon: Icon(
                            Icons.close,
                            color: Colors.yellow,
                          ),
                          label: Text(
                            'close',
                            style: TextStyle(color: Colors.yellow),
                          ),
                          style: ElevatedButton.styleFrom(
                            backgroundColor: Colors.yellow[800],
                          ),
                        ),
                      ],
                    ),
                  ),
                ],
              ),
            ),
          );
        }); // {} : context로부터 기능을 만들겠다
  }
}
✅ Detail 페이지 생성

import 'package:flutter/material.dart';

import 'package:flutter0617/ryan/ryanDetail.dart';
import 'package:flutter0617/ryan/ryanModel.dart';

class ExRyan extends StatefulWidget {
  const ExRyan({super.key});

  @override
  State<ExRyan> createState() => _ExRyanState();
}

class _ExRyanState extends State<ExRyan> {
  // 1. 데이터를 관리하기 위한 리스트 생성! -> 이미지 / 텍스트

  var imgList = [
    'images/ryan1.jpg',
    'images/ryan2.png',
    'images/ryan3.jpg',
    'images/ryan4.png',
    'images/ryan5.png',
    'images/ryan6.jpg'
  ];

  var txtList = [
    '리틀 라이언',
    '반짝 라이언',
    '하트 라이언',
    '춘식이와의 만남',
    '룸메는 춘식이',
    '좋아요 라이언'
  ];

  @override
  Widget build(BuildContext context) {
    return Scaffold(
      // 액션을 감지하는 버튼 생성
      floatingActionButton: FloatingActionButton(
        onPressed: () {
          // 버튼이 눌리면 리스트가 추가되는 기능 설계!
          setState(() {
            imgList.add('images/t1.jpg');
            txtList.add('우승 가자!');
          });
        },
        child: Icon(
          Icons.add,
          color: Colors.black,
        ),
        backgroundColor: Colors.yellow,
      ),

      // 2. ListView 생성 작업 시작!
      body: SafeArea(
        child: ListView.builder(
          itemCount: imgList.length,
          itemBuilder: (context, index) => GestureDetector(
            // 리스트뷰에 있는 각각의 항목이 제스처를 감지하도록 감싼다!
            // onTap: () {
            //   // print('${txtList[index]}');
            //
            //   // 항목이 선택되었을 경우 팝업창 띄우기!
            //   showPop(imgList[index], txtList[index], index);
            // },

            onLongPress: () {
              // 꾹 누르기
              // 디테일 페이지로 넘어가는 기능 만들기! -> Route 사용
              // 1. onLongPress 구조 만들기
              // 2. 디테일 페이지 생성
              // 3. 데이터의 객체를 생성하여 사용! -> 대량의 데이터를 사용할 때 편리하다!

              // ryan 객체를 사용하여 데이터들을 하나의 묶음으로 만들기!
              Ryan ryan =
                  Ryan(imgList[index], txtList[index], '${index}번째 라이언');

              Navigator.push(
                  context,
                  MaterialPageRoute(
                      builder: (_) =>
                          // RyanDetail(
                          //   title: txtList[index],
                          //   img: imgList[index],
                          //   numberName: '${index}번째 라이언',
                          // )
                          RyanDetail(
                            r: ryan,
                          )));
            },
            child: Card(
              child: Container(
                color: Colors.black,
                child: Row(
                  children: [
                    // 각각의 이미지의 크기를 일정한 비율로 맞추기 위한 Expanded 위젯 사용!
                    Expanded(child: Image.asset(imgList[index])),
                    Expanded(
                      child: Column(
                        children: [
                          Text(
                            '${txtList[index]}',
                            style: TextStyle(color: Colors.white),
                          ),
                          Text(
                            '${index + 1} 번째 라이언',
                            style: TextStyle(color: Colors.white),
                          ),
                        ],
                      ),
                    )
                  ],
                ),
              ),
            ),
          ),
        ),
      ),
    );
  }

  void showPop(image, name, index) {
    showDialog(
        context: context,
        builder: (context) {
          return Dialog(
            child: Container(
              width: MediaQuery.of(context).size.width * 0.7,
              height: 380,
              decoration: BoxDecoration(
                borderRadius: BorderRadius.circular(10),
                color: Colors.yellow,
              ),
              child: Column(
                children: [
                  SizedBox(
                    height: 32,
                  ),
                  ClipRRect(
                    borderRadius: BorderRadius.circular(10),
                    child: Image.asset(
                      image,
                      width: 200,
                      height: 200,
                    ),
                  ),
                  SizedBox(
                    height: 10,
                  ),
                  Text(
                    name,
                    style: TextStyle(
                        fontSize: 25,
                        fontWeight: FontWeight.bold,
                        color: Colors.orange),
                  ),
                  Padding(
                    padding: EdgeInsets.all(8),
                    child: Row(
                      mainAxisAlignment: MainAxisAlignment.center,
                      children: [
                        ElevatedButton.icon(
                          onPressed: () {},
                          icon: Icon(
                            Icons.close,
                            color: Colors.yellow,
                          ),
                          label: Text(
                            '삭제하기',
                            style: TextStyle(color: Colors.yellow),
                          ),
                          style: ElevatedButton.styleFrom(
                            backgroundColor: Colors.yellow[800],
                          ),
                        ),
                        SizedBox(
                          width: 10,
                        ),
                        ElevatedButton.icon(
                          onPressed: () {},
                          icon: Icon(
                            Icons.close,
                            color: Colors.yellow,
                          ),
                          label: Text(
                            'close',
                            style: TextStyle(color: Colors.yellow),
                          ),
                          style: ElevatedButton.styleFrom(
                            backgroundColor: Colors.yellow[800],
                          ),
                        ),
                      ],
                    ),
                  ),
                ],
              ),
            ),
          );
        }); // {} : context로부터 기능을 만들겠다
  }
}
import 'package:flutter/material.dart';
import 'package:flutter0617/ryan/ryanModel.dart';
class RyanDetail extends StatelessWidget {
// const RyanDetail(
// {super.key,
// required this.title,
// required this.img,
// required this.numberName});
// ryan listview에서 ryanDetail로 넘어올 때 가지고 와야하는 데이터?
const RyanDetail({required this.r});
// final String title;
// final String img;
// final String numberName;
final Ryan r;
@override
Widget build(BuildContext context) {
return Scaffold(
appBar: AppBar(
title: Text(
r.numberName,
style: TextStyle(
color: Colors.orange
),
),
backgroundColor: Colors.yellow[400],
), // 나중에 실제 들어온 데이터로 수정!
body: Container(
color: Colors.yellow[400],
child: Center(
child: Column(
children: [
Image.asset(r.img),
// 나중에 실제 들어온 데이터로 수정!
SizedBox(
width: 10,
),
Text(
r.title,
style: TextStyle(fontSize: 24, color: Colors.orange),
)
// 나중에 실제 들어온 데이터로 수정!
],
),
),
),
);
}
}// 객체(=클래스)가 가지고 있어야 하는 내용을 정리하는 파일!
class Ryan {
String img;
String title;
String numberName;
// 무조건 3개의 데이터를 초기화하는 생성자 메소드 생성
Ryan(this.img, this.title, this.numberName);
}
'Flutter' 카테고리의 다른 글
| Future (0) | 2024.06.18 |
|---|---|
| BottomPage (0) | 2024.06.17 |
| ex33. Route (0) | 2024.06.14 |
| ex32. Navigator (0) | 2024.06.14 |
| ex31. Onboarding (0) | 2024.06.13 |